Hot Cocoa Sourdough Bread
It was snowing earlier this week, and we went outside to play snowballs. While making hot chocolate, I had an idea of making a hot cocoa sourdough bread loaf.
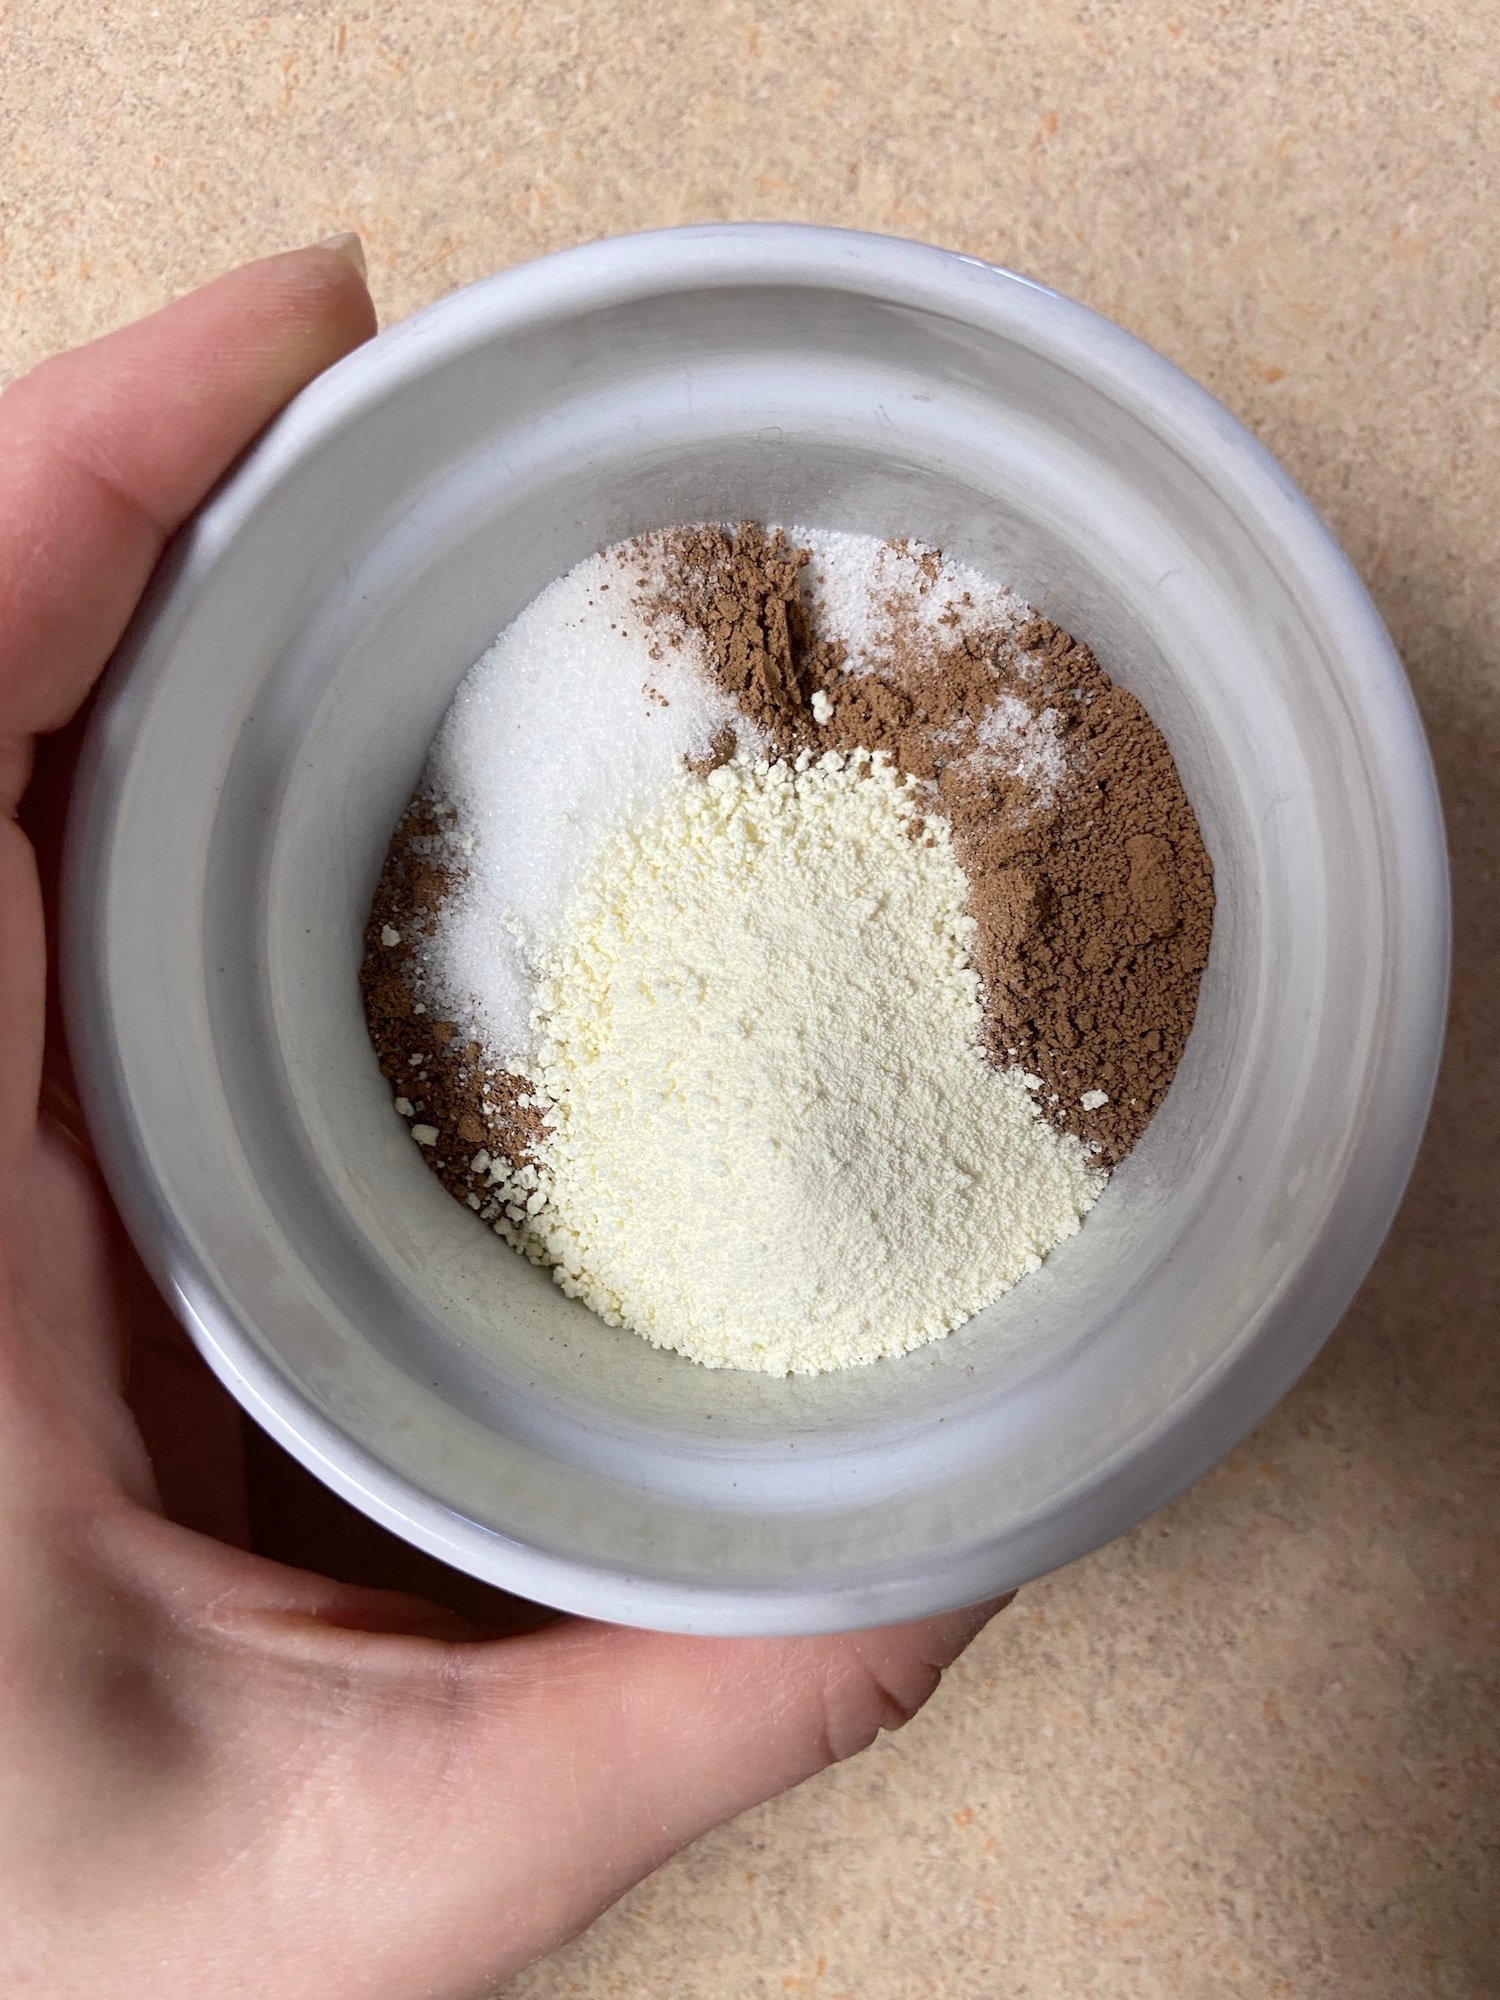
Here it is. I used dry milk powder and cocoa powder, to sprinkle it during the lamination step.
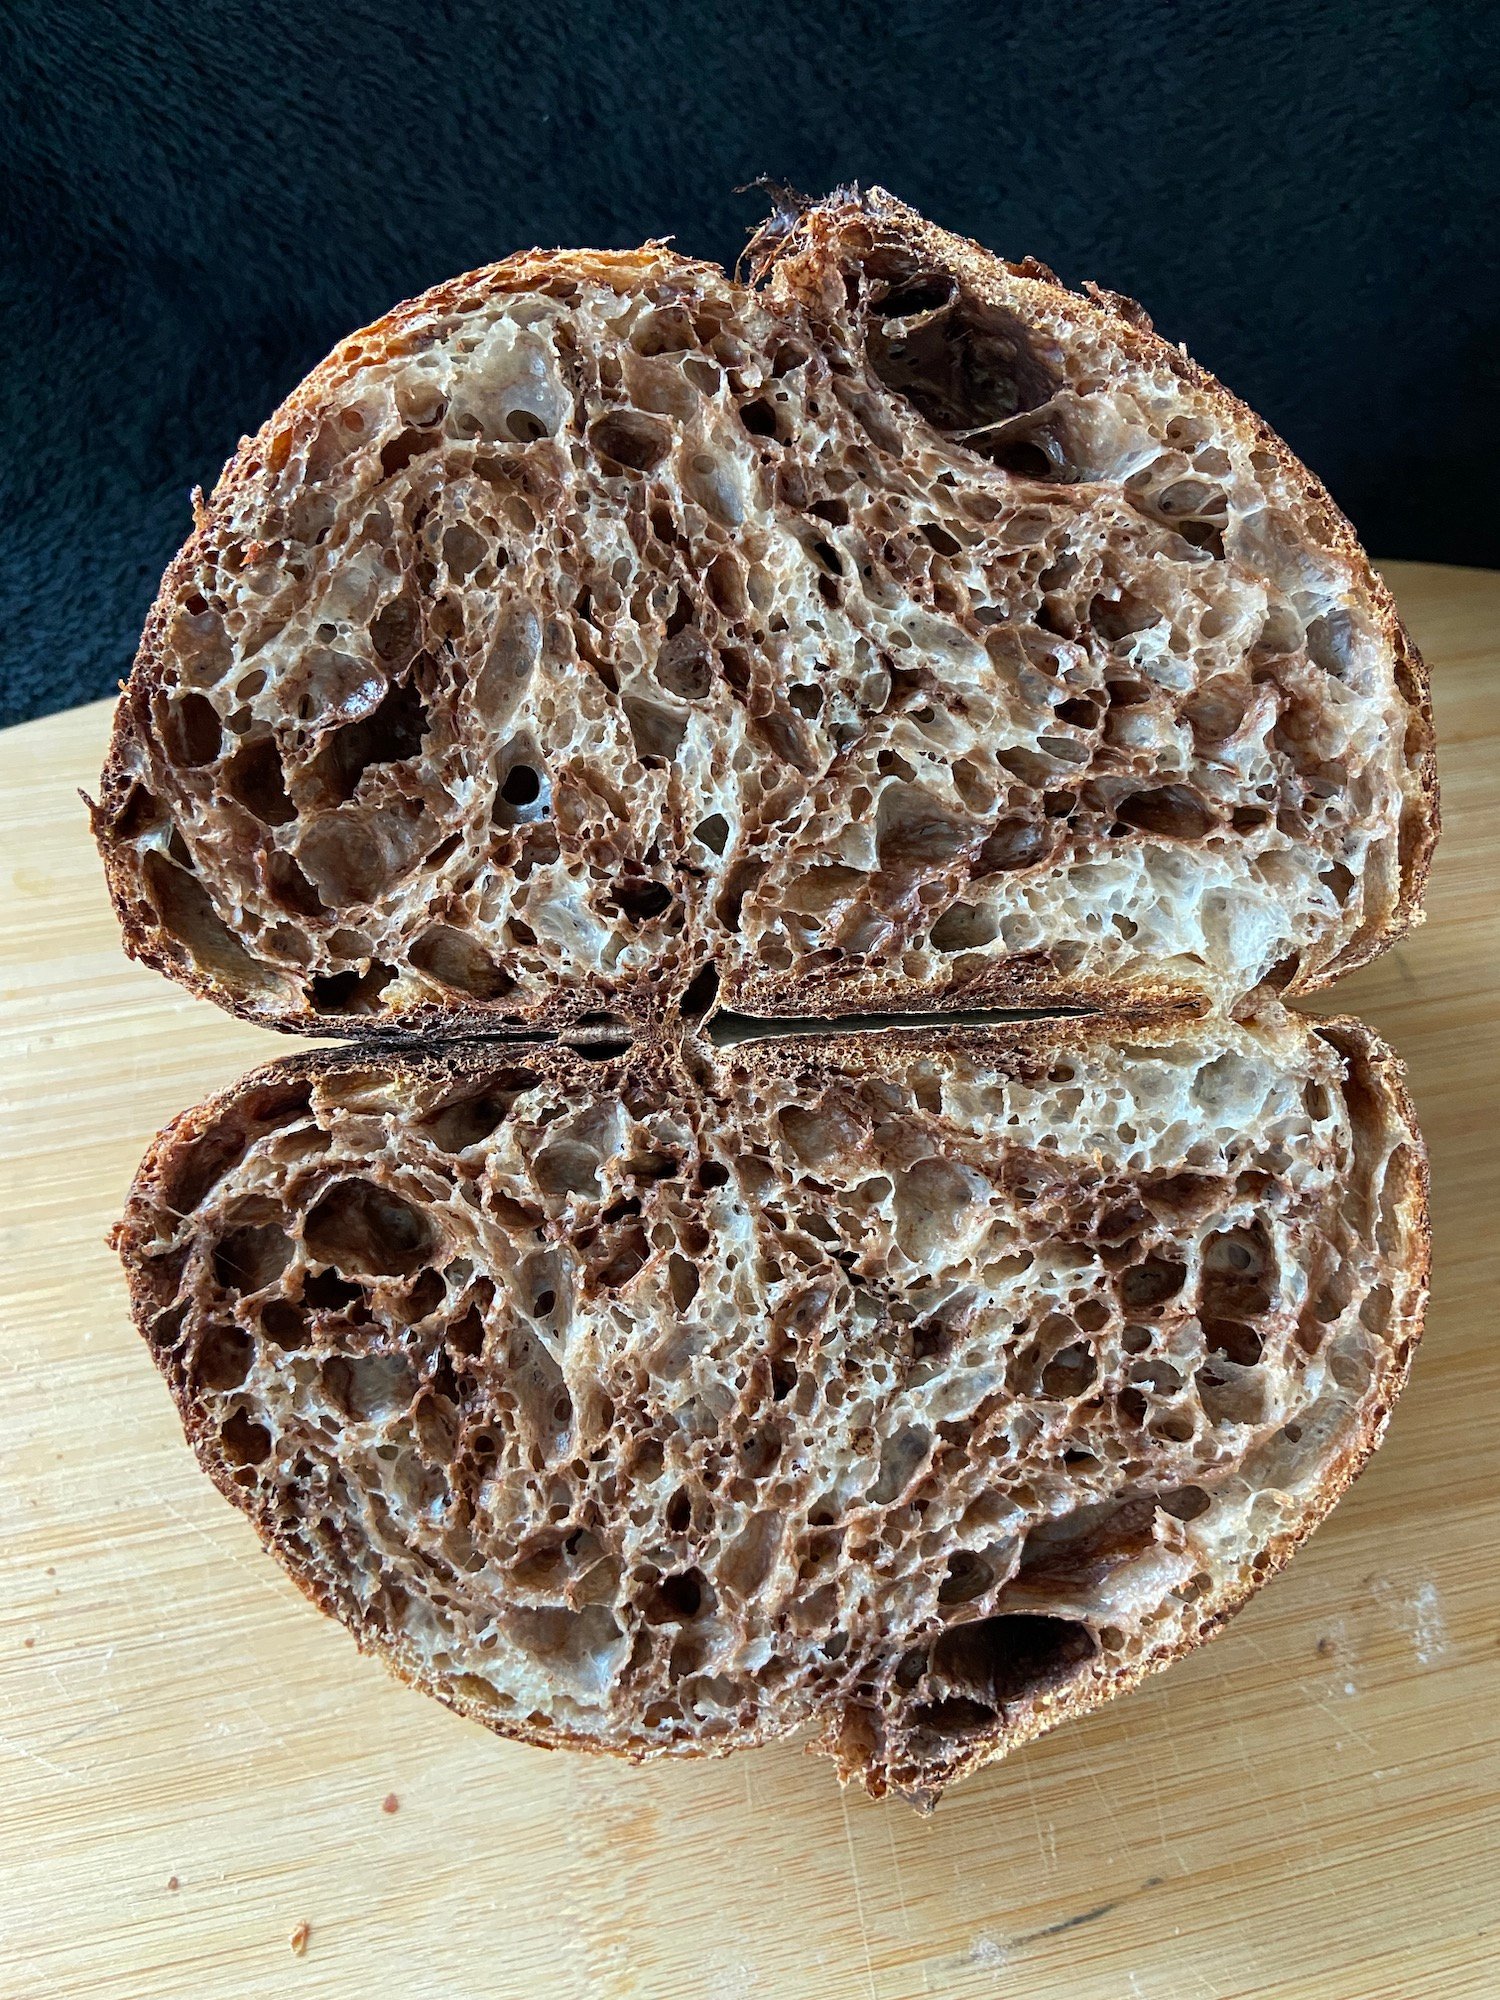
Oh boy…. It came out delicious.
Ingredients
Sourdough Starter
- 5g sourdough starter
- 35g water
- 30g all purpose flour or bread flour
- 5g rye flour
Dough
- 270g bread flour (90%)
- 30g stone ground whole wheat flour (10%)
- 207g water (69%)
- 30g (10%) cold water added along with salt, total hydration, 79%
- 60g levain (20%)
- 6g salt (2%)
- 15 g cocoa powder
- 15 g dry milk powder
- 15 g sugar
- water to spray the cocoa mixture
Directions
Starter
- 7 am add starter to the water and whisk together, add flour, mix well, cover loosely, let it sit at a room temp 74-78F for about 8-10 hours until starter reaches its peak (at least triples in volume).
- Learn how to make starter from scratch here.
Dough
- 5 pm mix water with flour and cover, let it rest 1 hour for autolyse.
- During the autolyse the flour absorbs the water, becoming fully hydrated. This will activate gluten development.
- 6 pm add sourdough starter.
- Mix on low speed of your mixing machine for 2-3 min, or KitchenAid on speed 3 for 3-4 minutes until well incorporated.
- Cover, let rest for 30 min.
- 6:30 pm add salt and extra water.
- The process of adding extra water is called bassinage, it helps to tighten up gluten. Mix on low speed of your mixing machine for 2-3 min, or with KitchenAid on speed 3 for 5-6 minutes until well incorporated. The dough should come up together, but still be sticky on the bottom.
- Continue gluten development and structure building by performing stretches and folds during the warm fermentation period.
- Leave to rest 30 minutes. At 74-78F /23-26C.
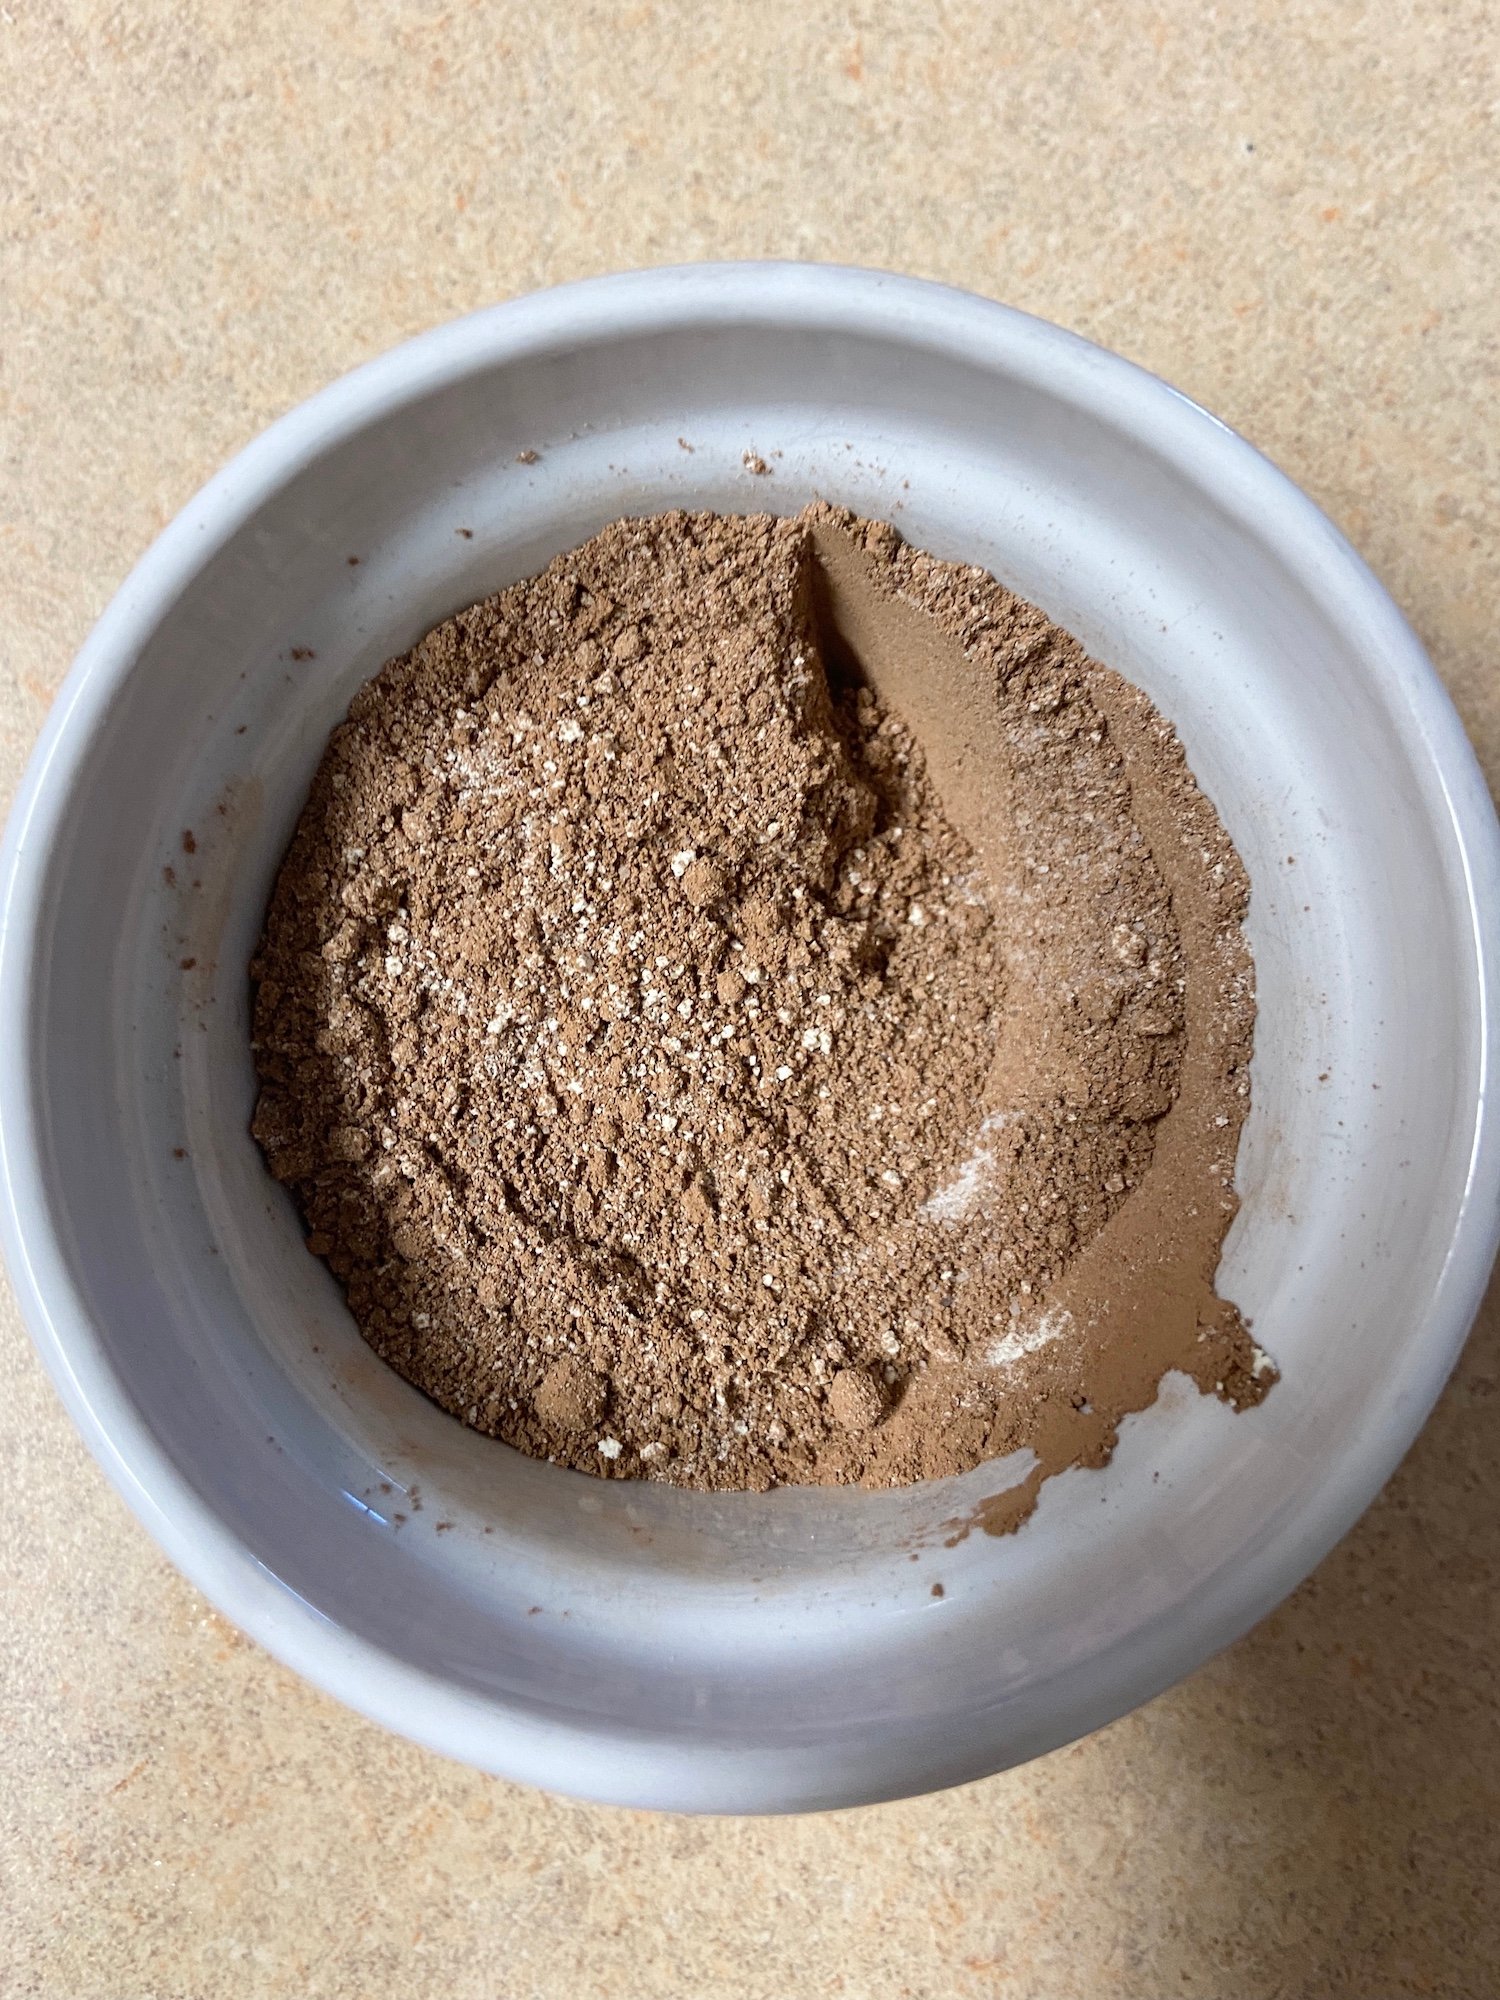
- Meanwhile mix together cocoa powder, dry milk powder and sugar.
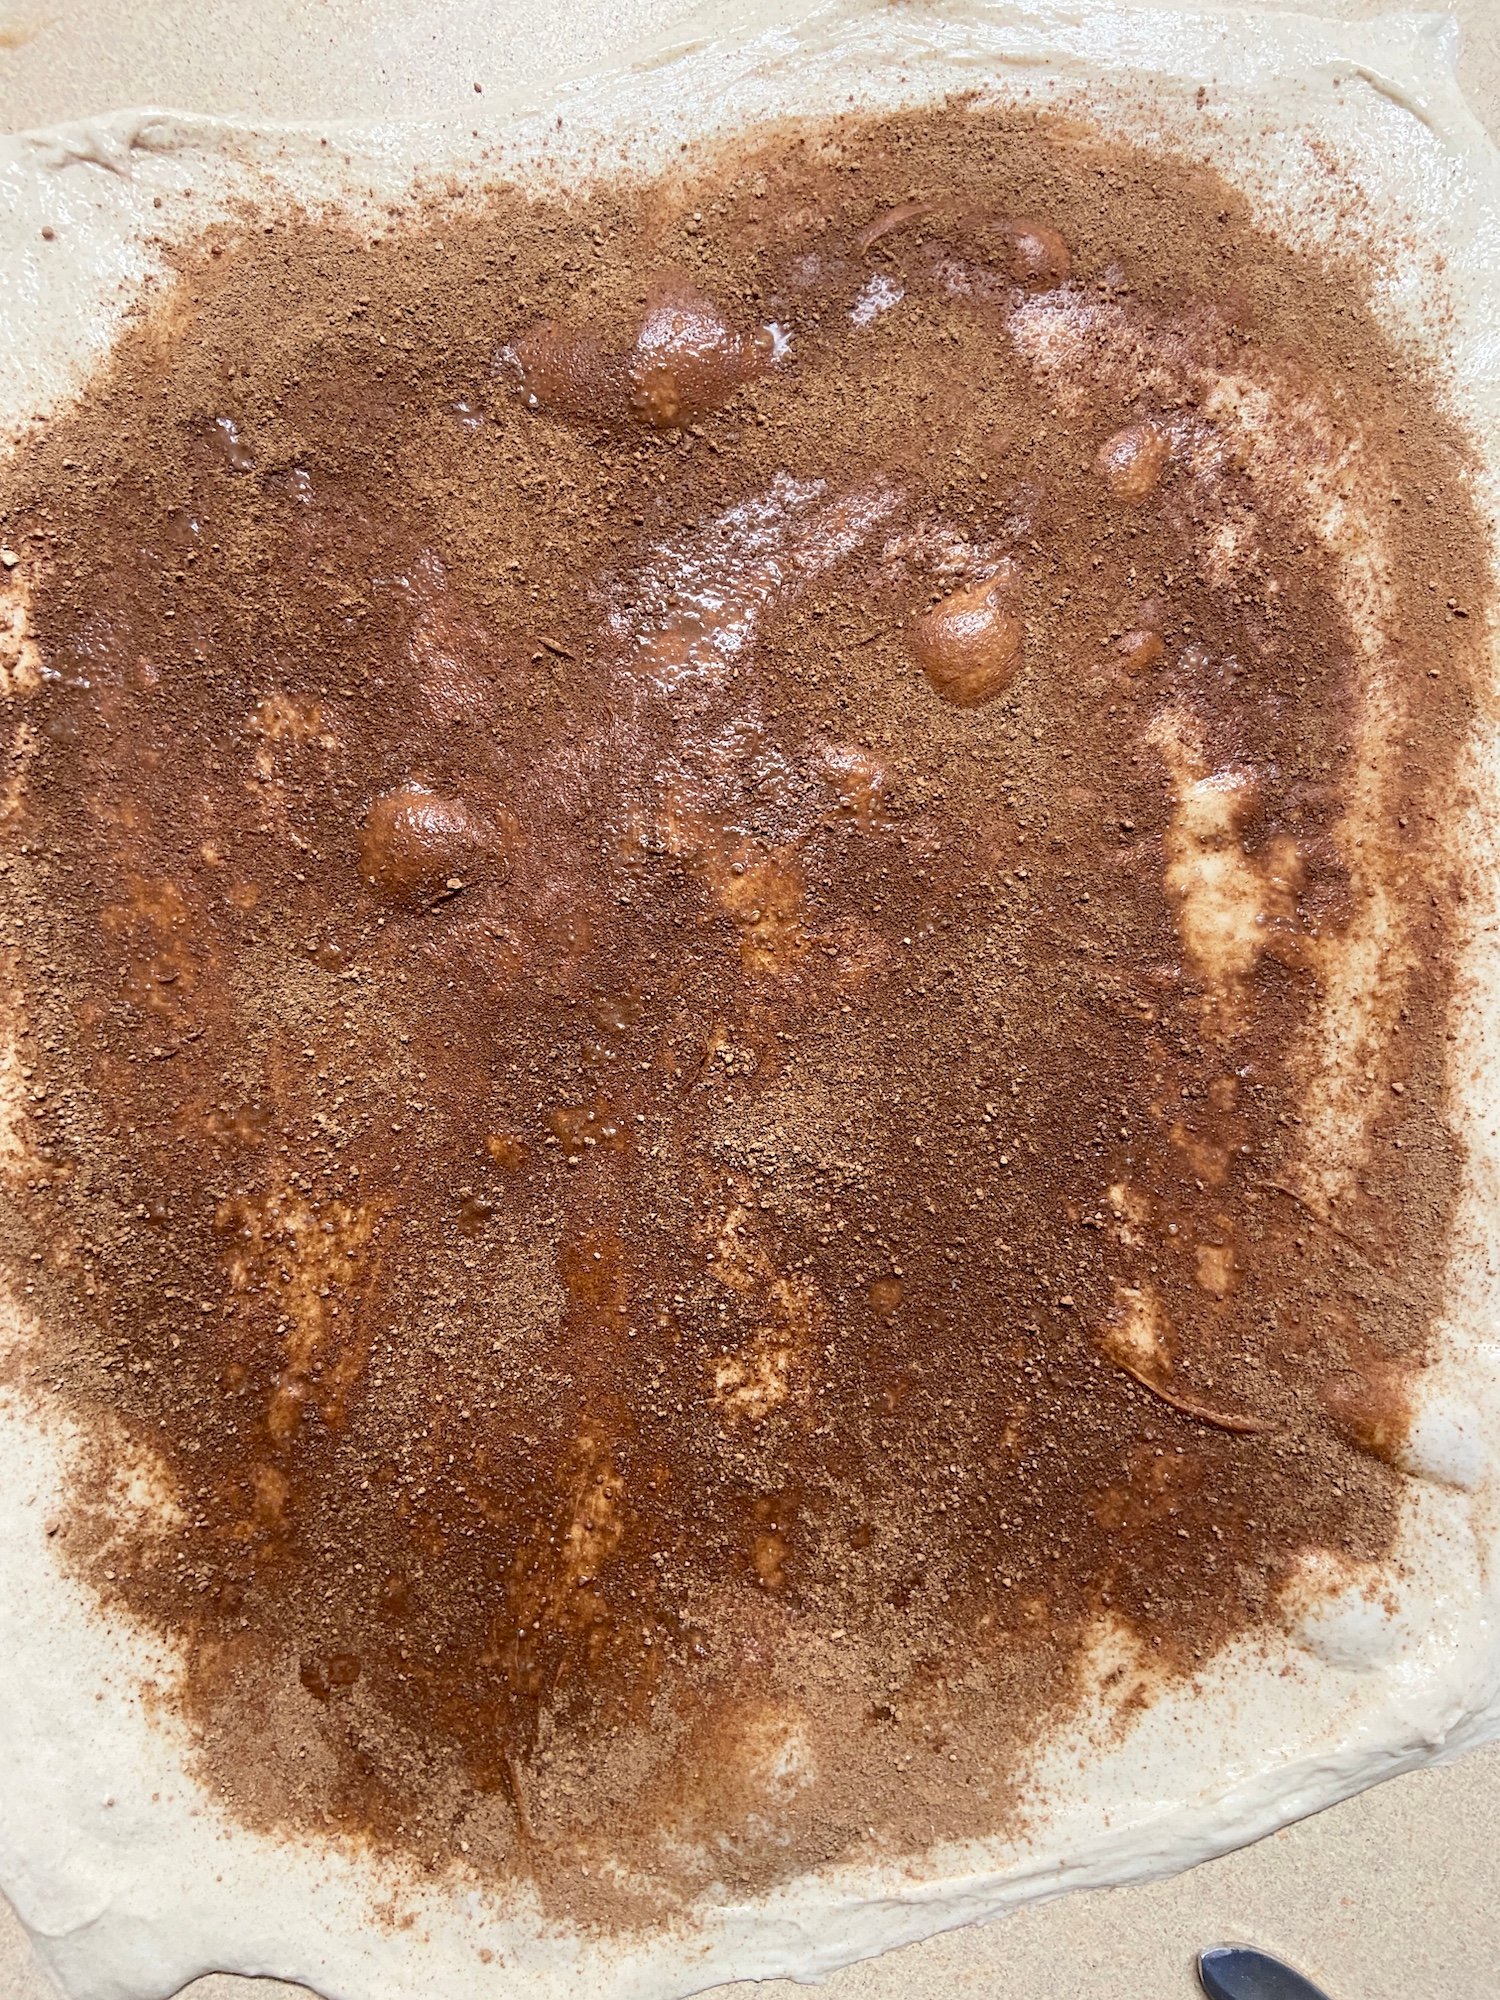
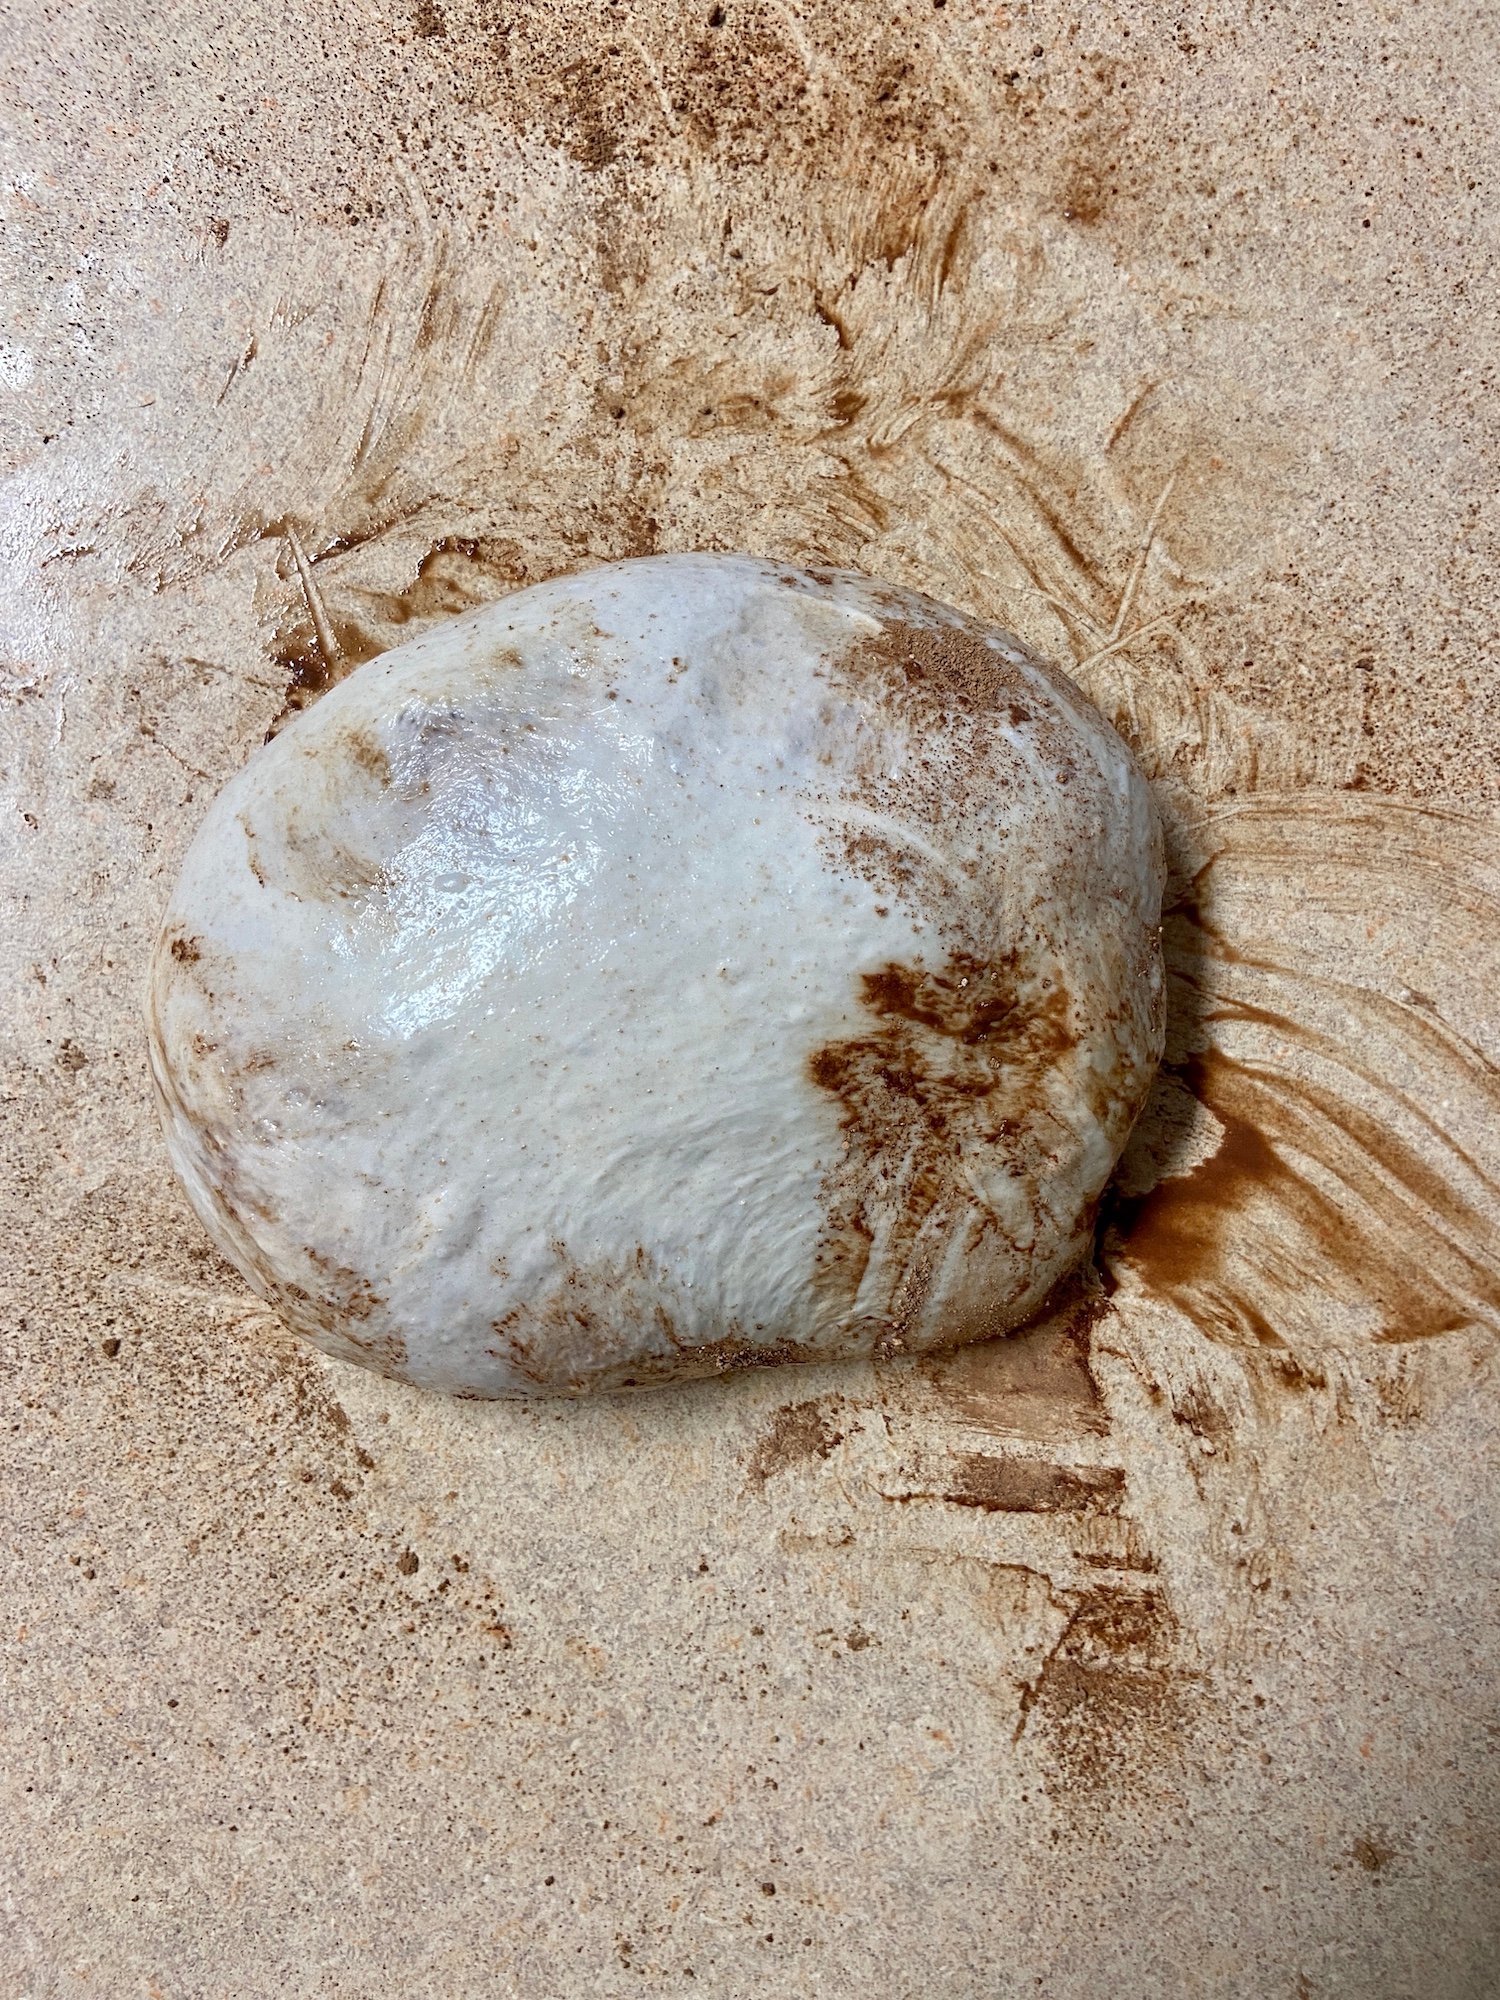
- 7 pm spray your work surface with water, wet your hands to perform lamination.
- Lamination is the process of stretching the dough as thin as you can without ripping it.
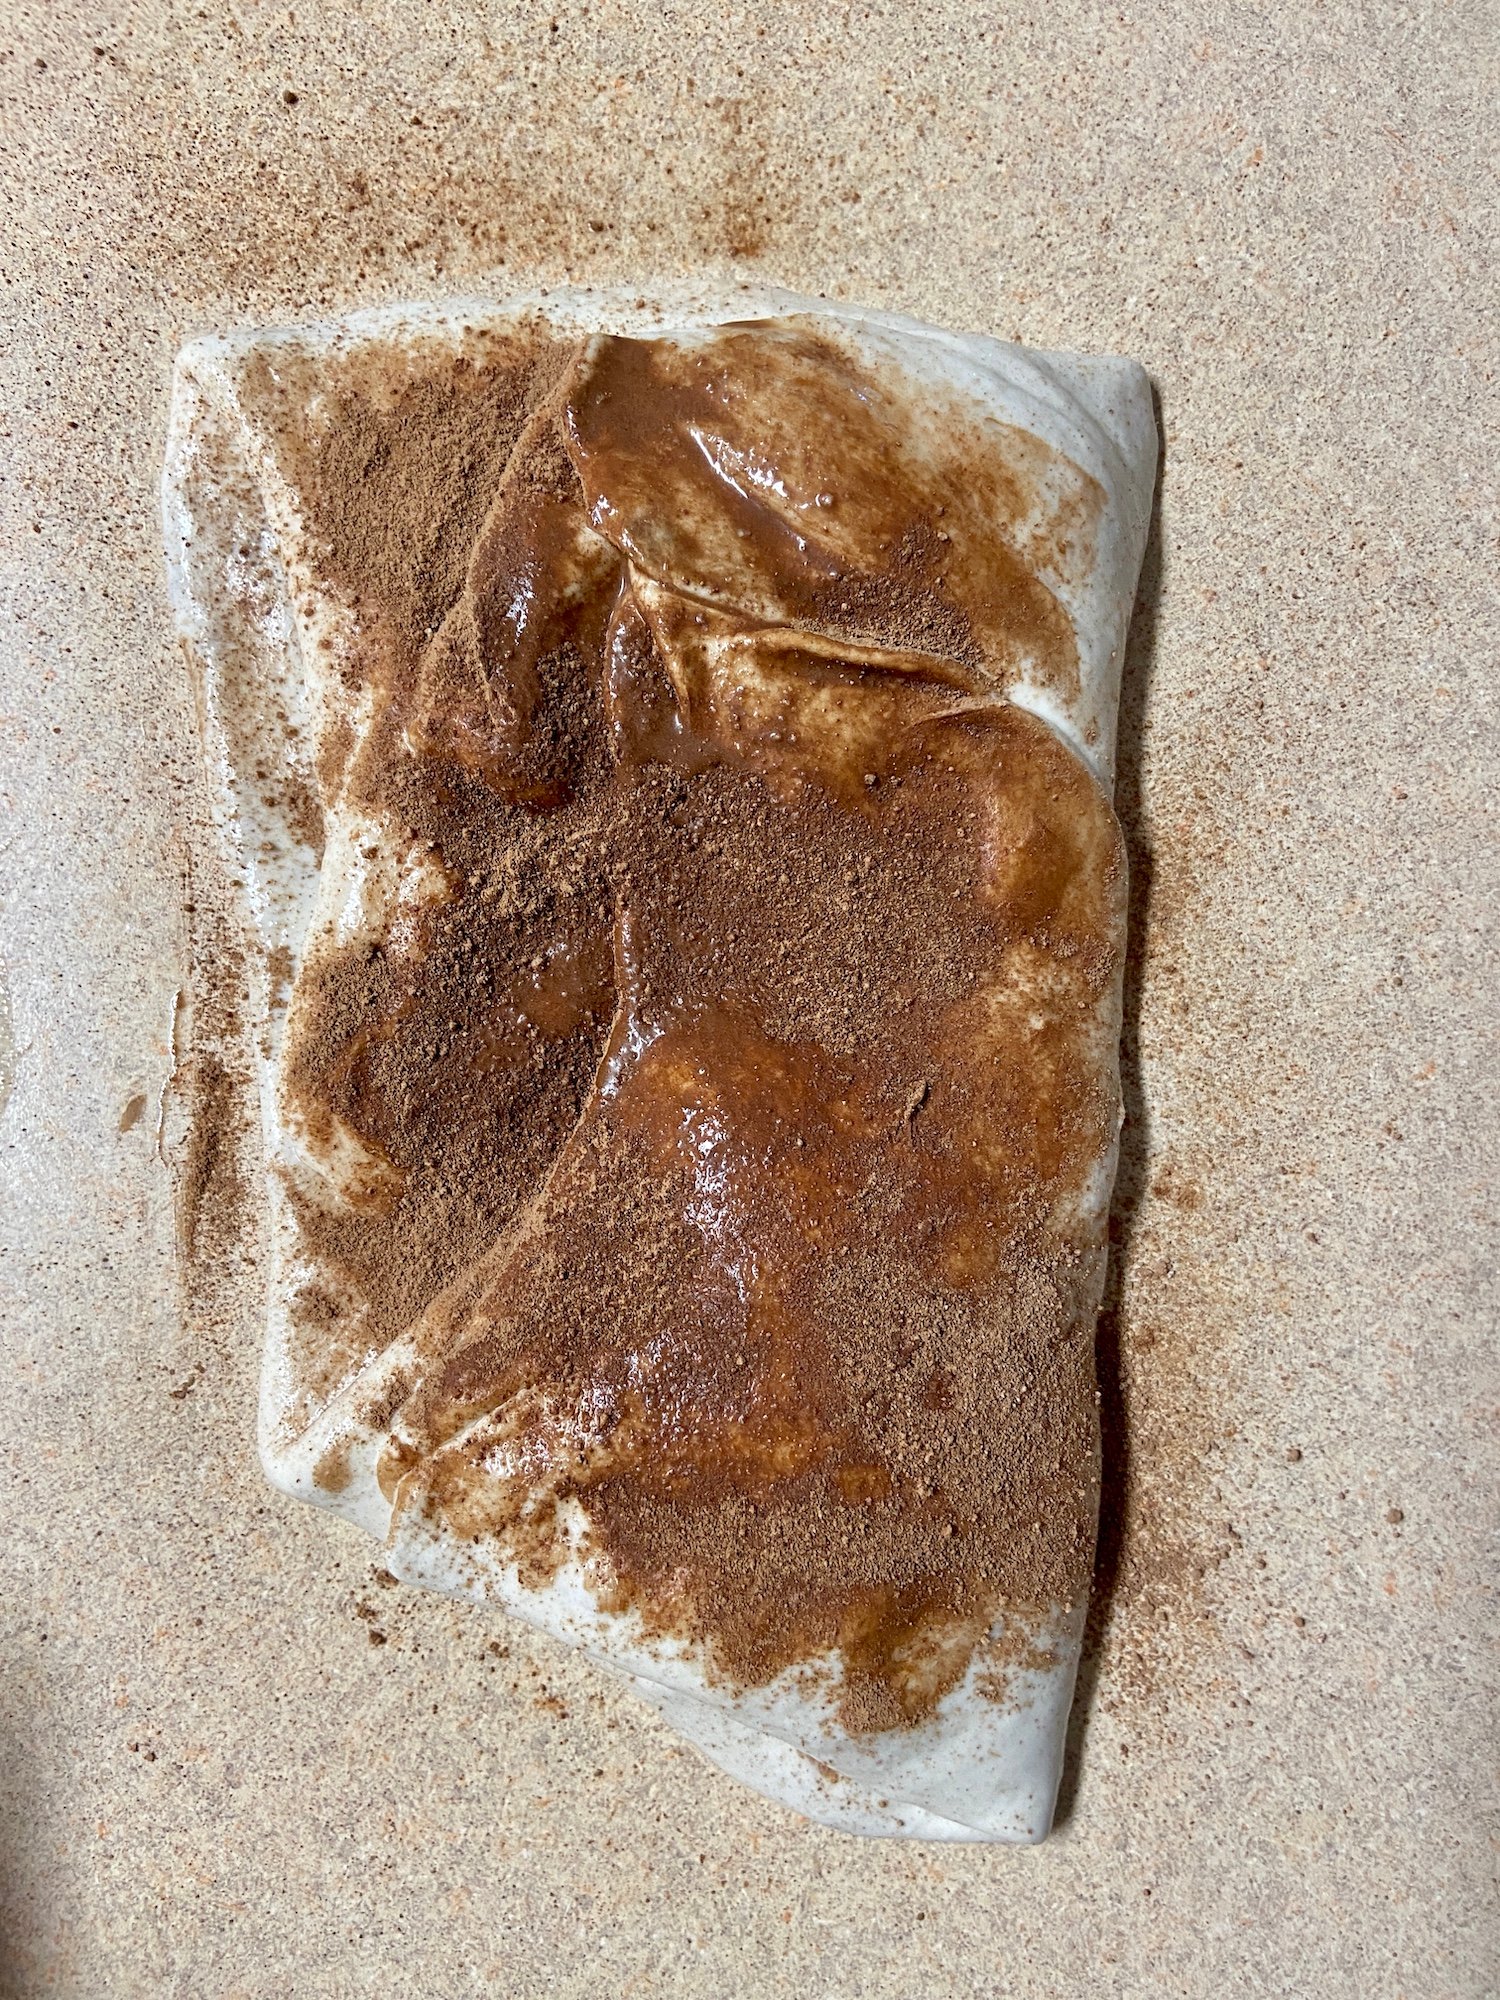
- Spread the cocoa mixture all over the dough spray cocoa with some water with the spritzer (cocoa and dry milk tend to take hydration away from the dough, that’s why we have to spray some water on it), fold and it let rest for 45 minutes.
- 7:45 pm 1st stretch and fold.
- 8:30 pm 2nd stretch and fold.
- 9.15 pm 3rd stretch and fold

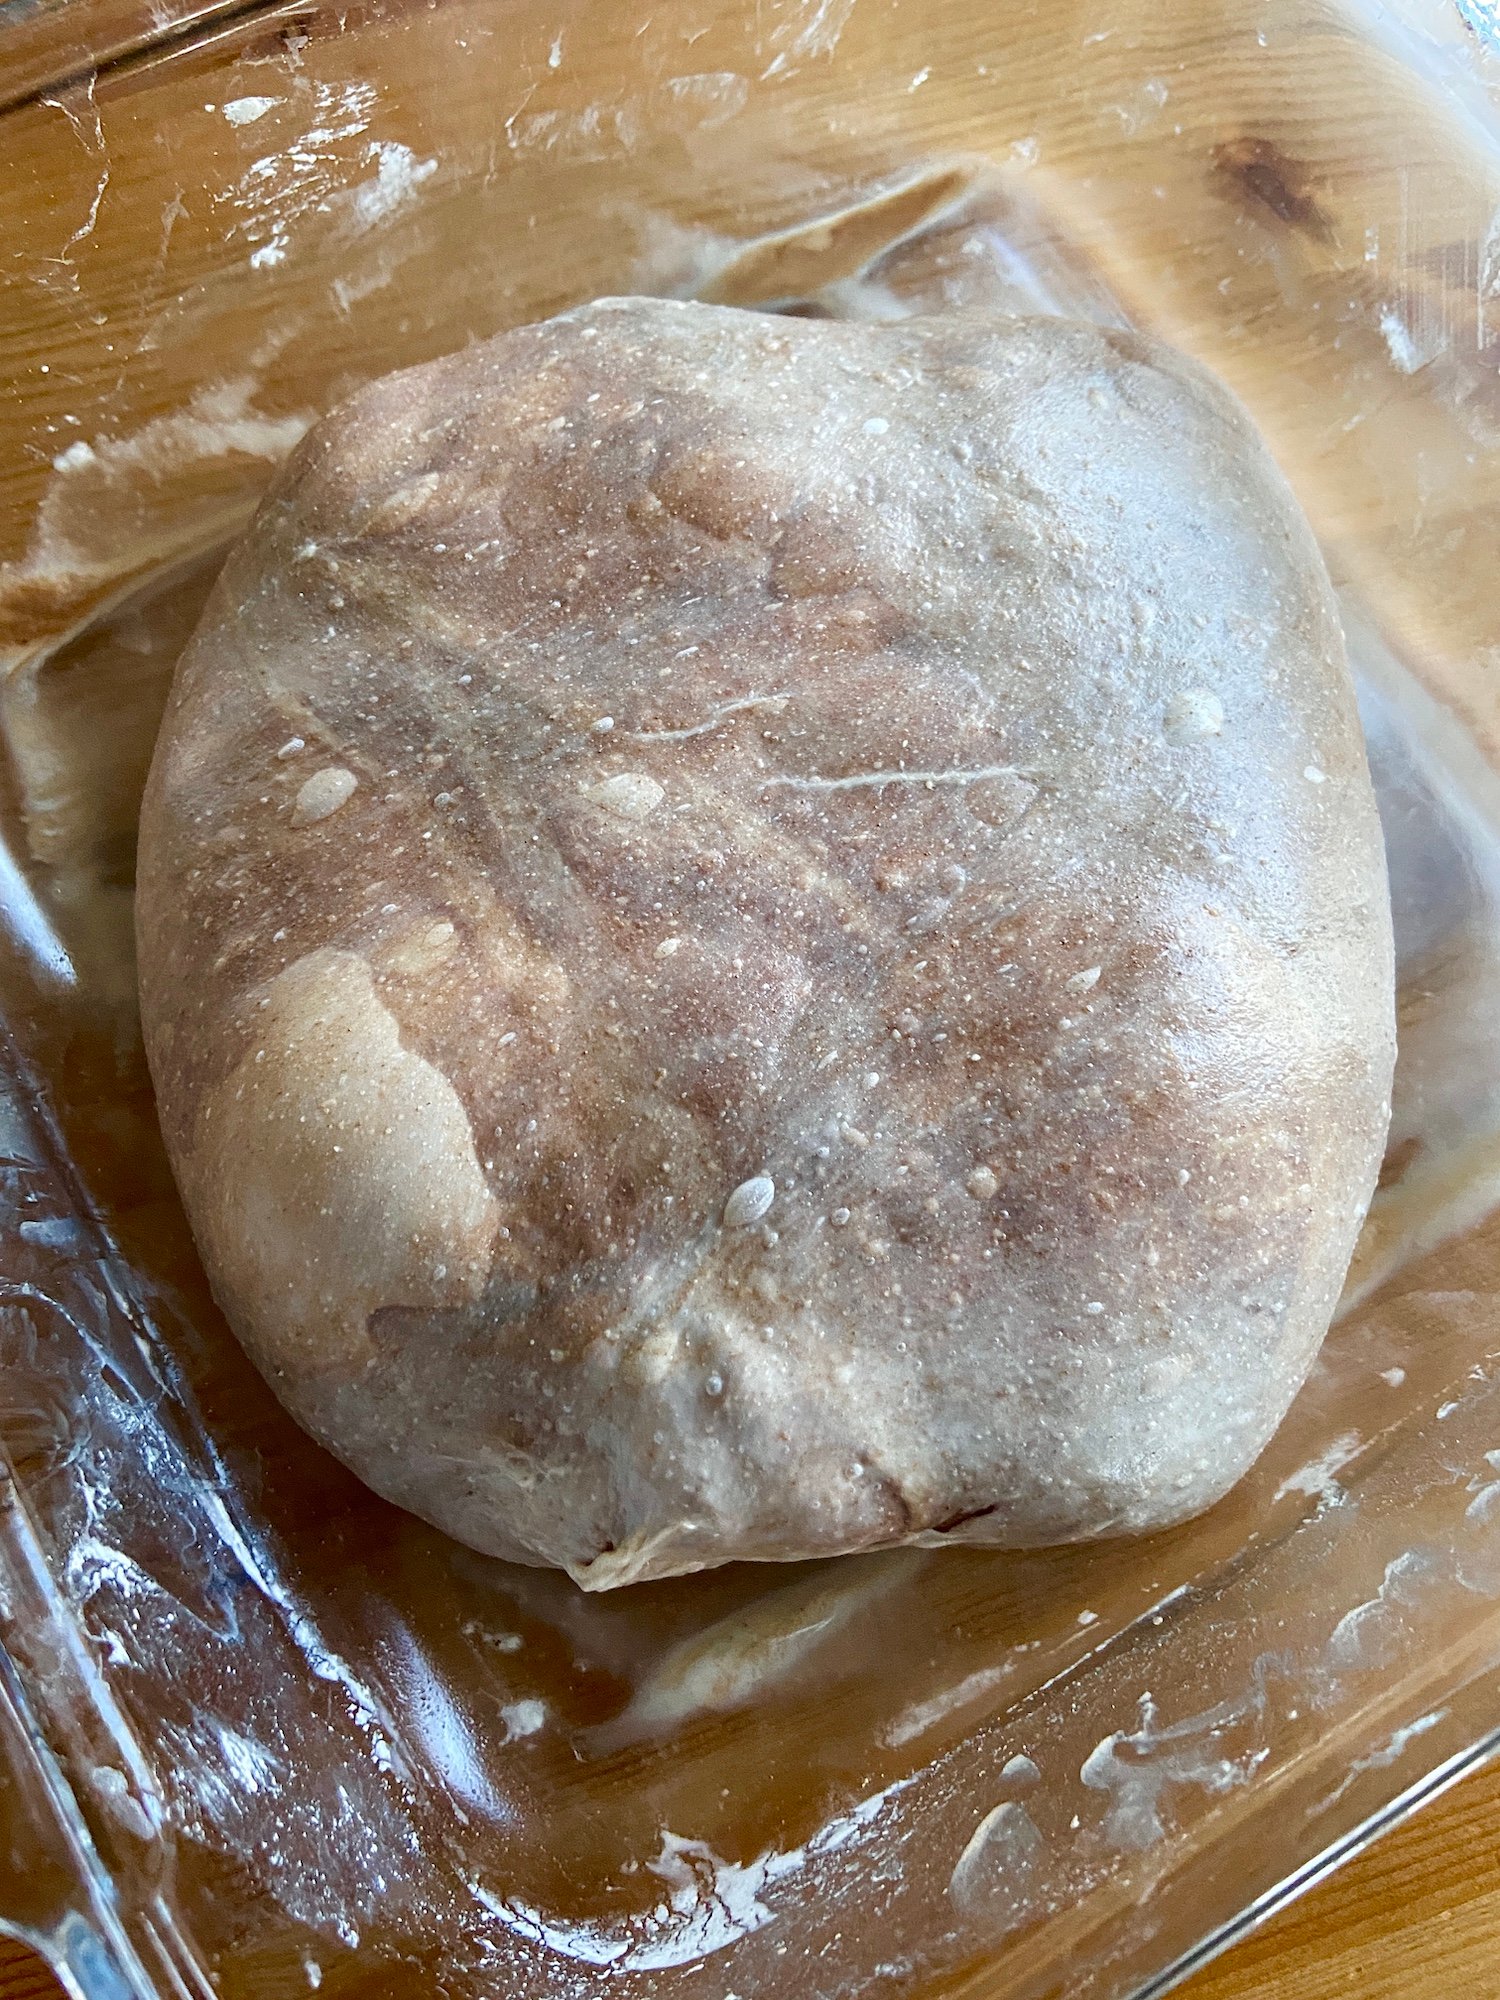

After the final stretch let the dough proof for 30 minutes at 76-80F/ 23-26C. You should see some bubbles on the surface, the dough has to become lighter and puffy. We are looking for 50% rise.
Preshaping Sourdough
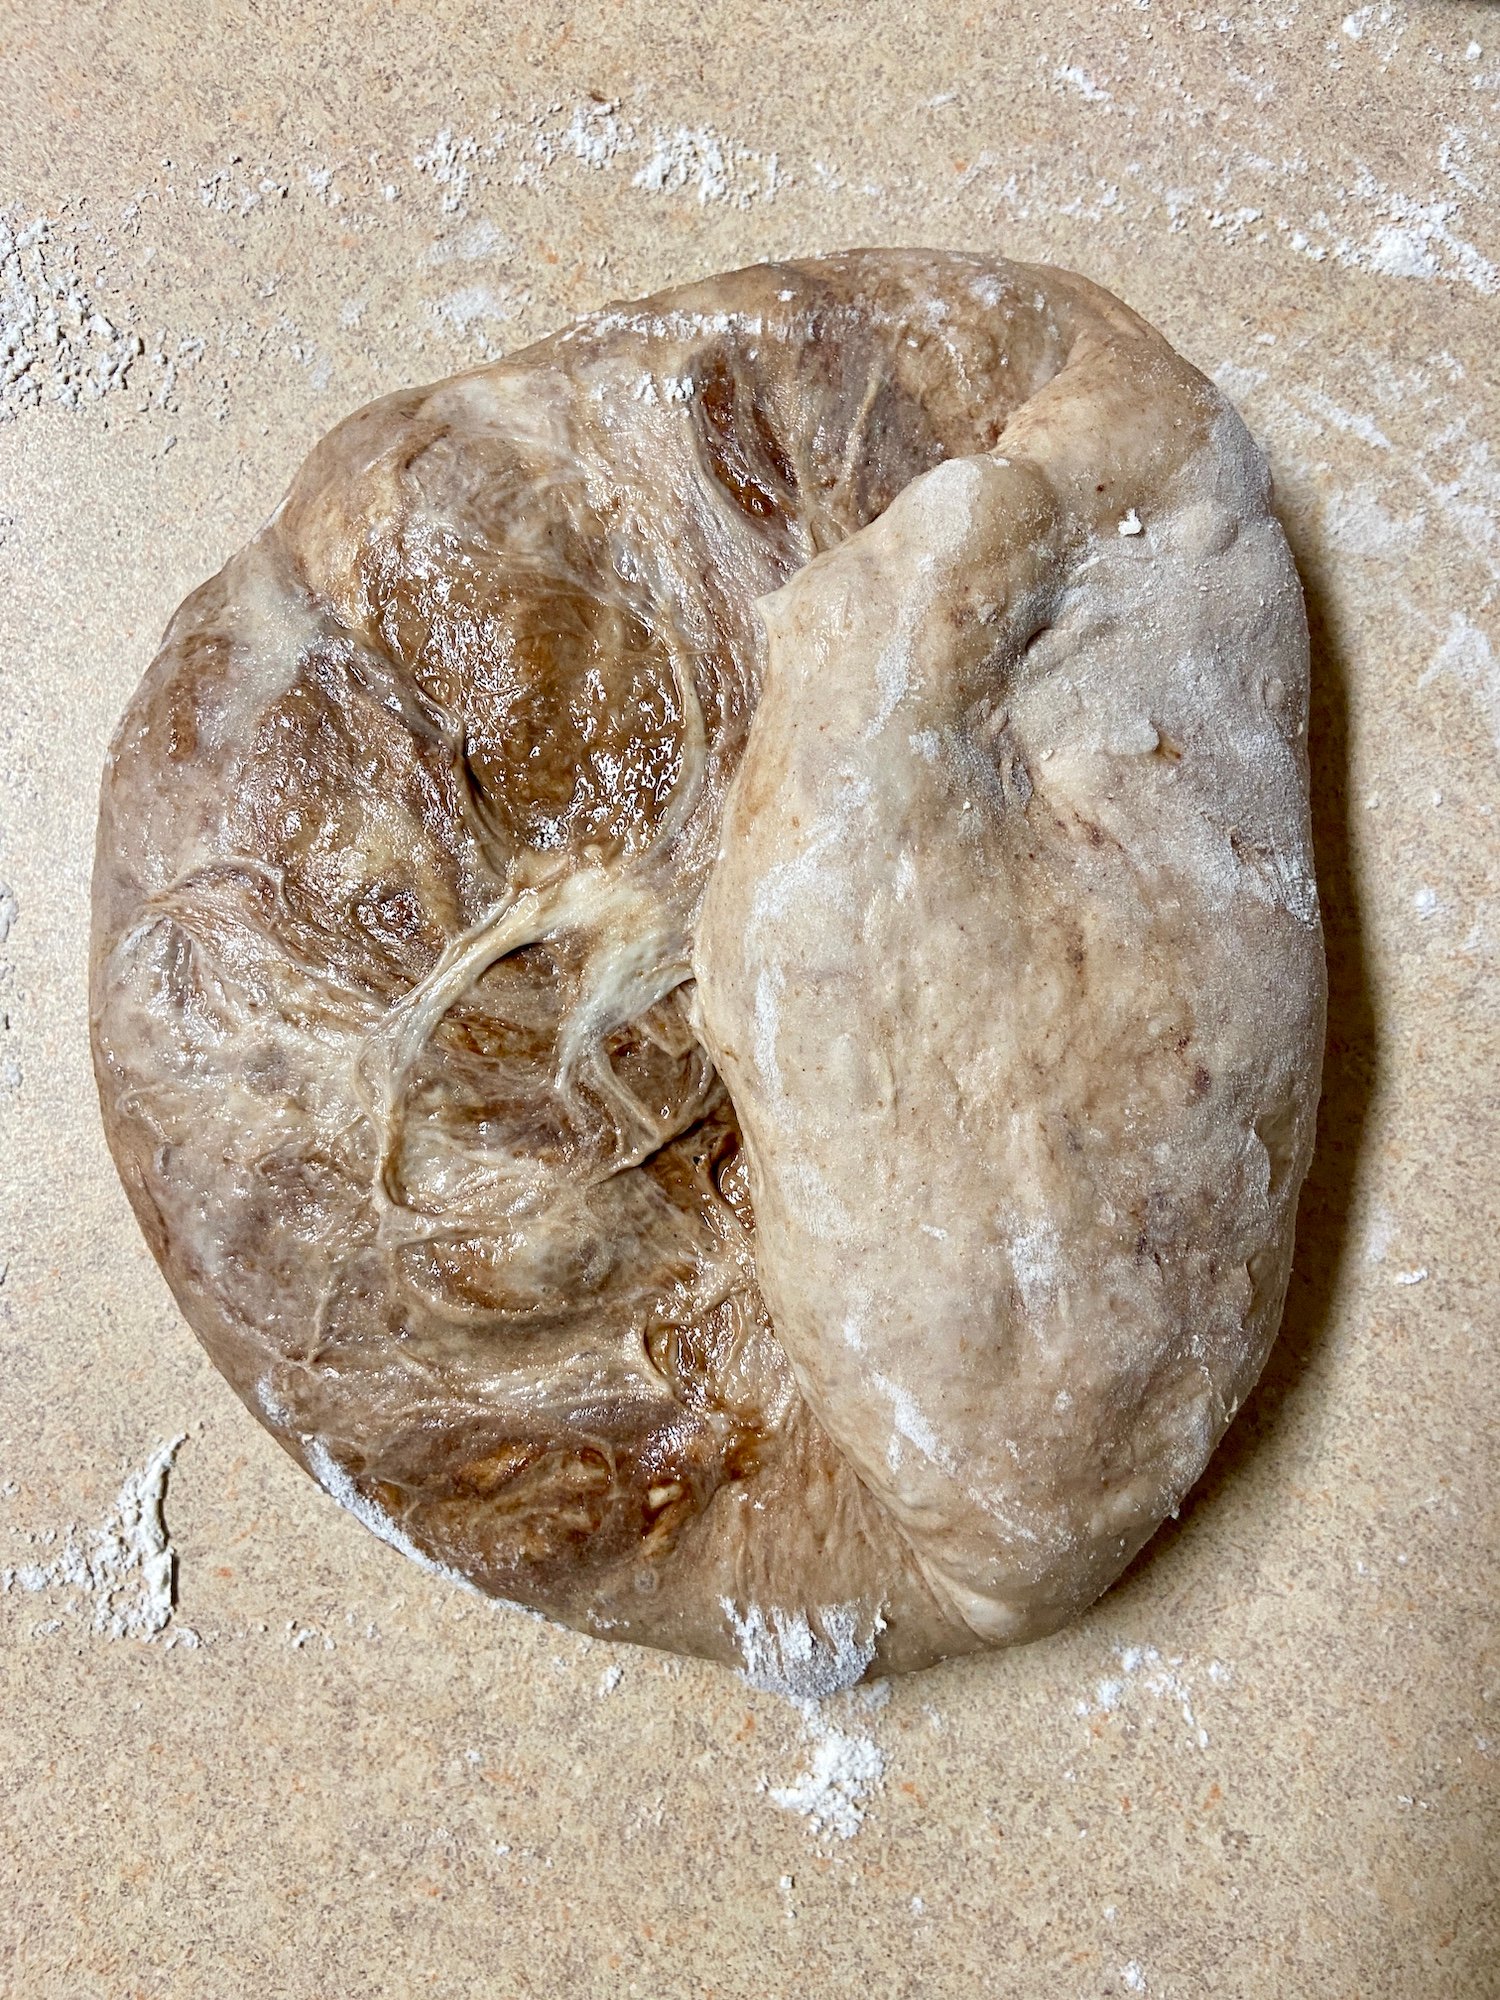
- 9:45 pm transfer the dough on to a work surface and dust its top with flour. Flip the dough over so the floured side faces down.
- Fold the dough onto itself so the flour on the surface remains entirely on the outside of the loaf. This will become the crust.
- Place the dough round on a work surface and let it rest for 30 minutes uncovered.

Shaping Sourdough
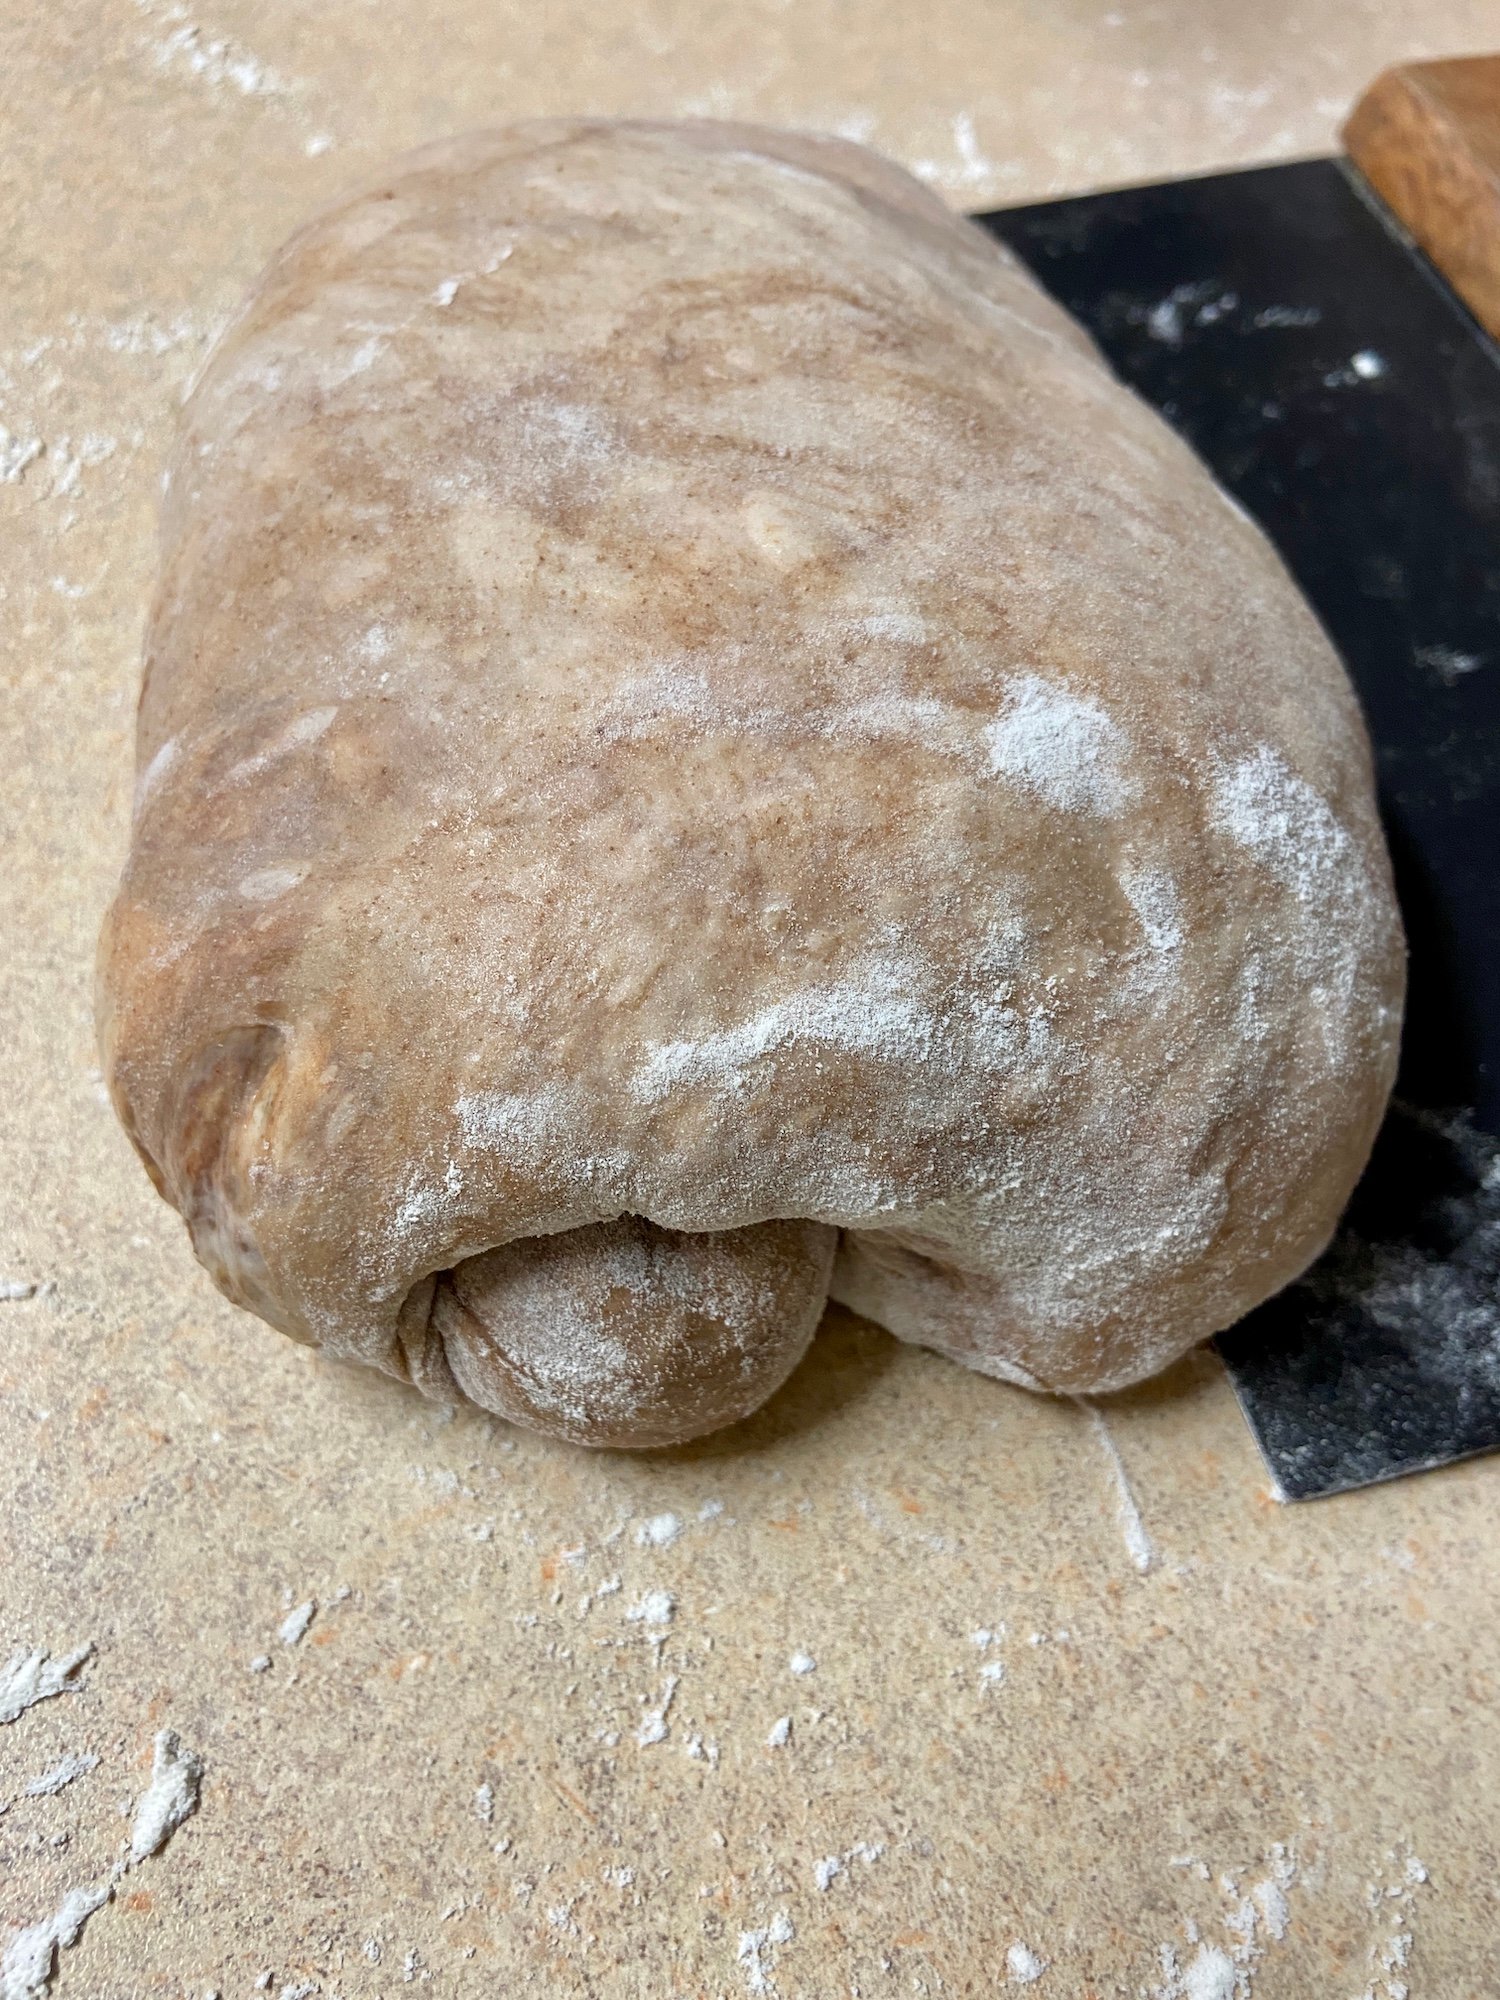
- 10.15 pm dust the dough with flour. Use a dough scraper to flip it over on to a work surface so the floured sides face down.
- Starting with the side closest to you, pull the right 2 corners of the dough to the left, then fold them up into half of the dough. Repeat this action with the other side too.
- Finally, roll the dough. Shape it into a smooth, taut roll.
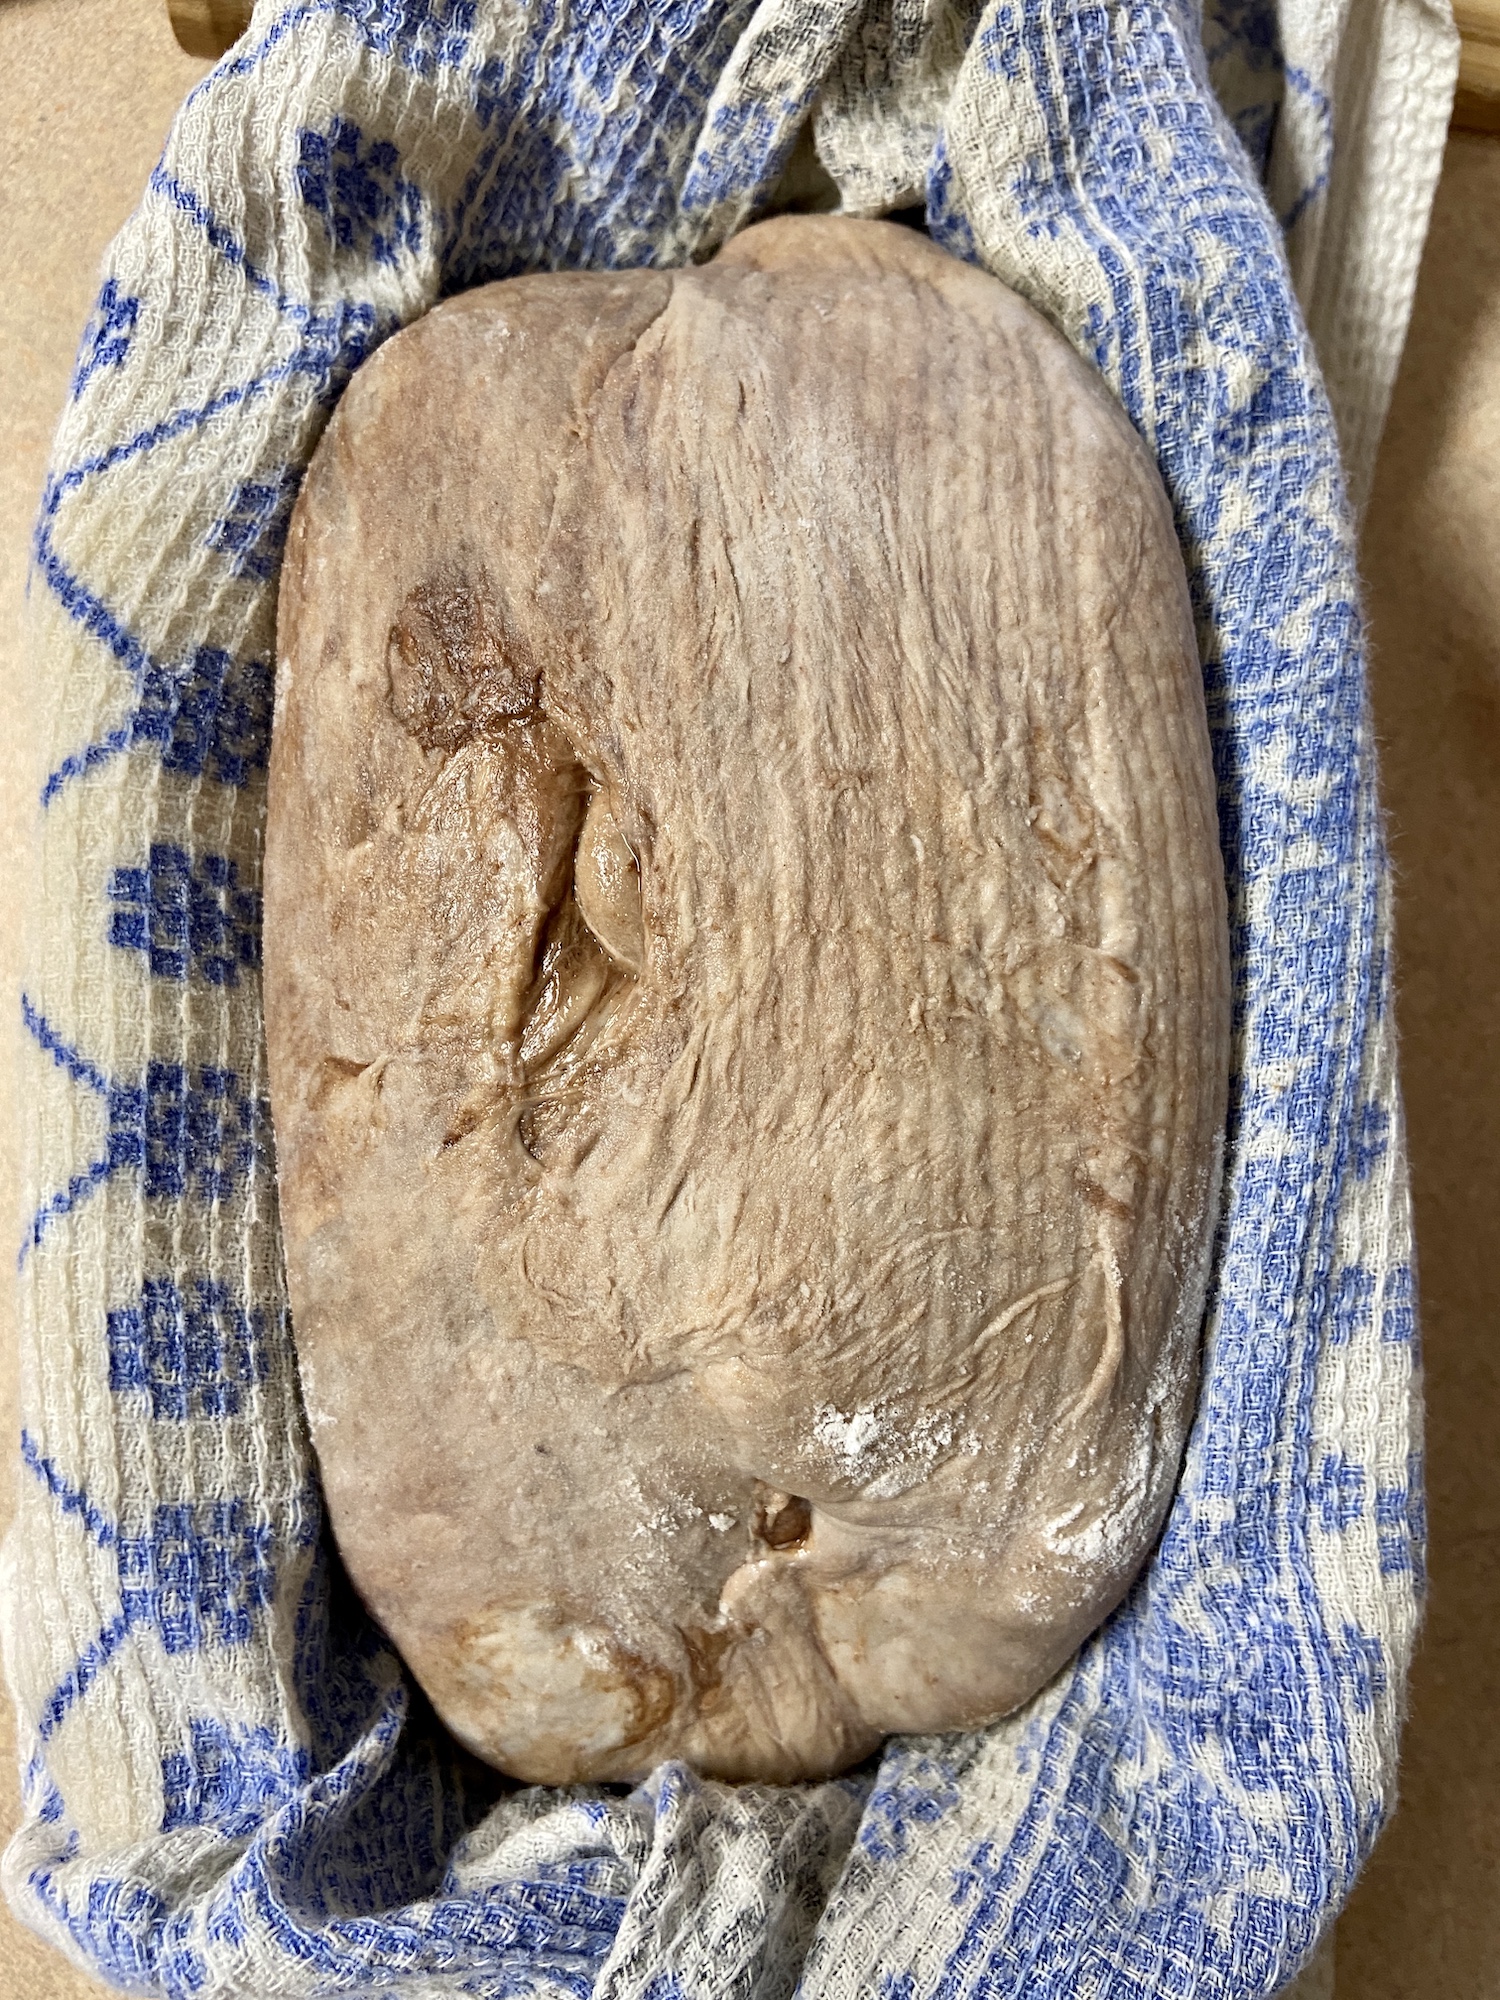
- Transfer the roll, seam side up, to a prepared proofing basket (loaf pan with kitchen towel).
- Cover it with plastic and return the dough to the 80F (27C) environment for 15 minutes.
- Then transfer the dough to rise for 14-24 hours in the refrigerator.
Baking
Next morning
- Preheat your oven to 500 F, place a cast iron pan with the lid inside for 45 minutes -1 hour.
- Remove the dough from the fridge.
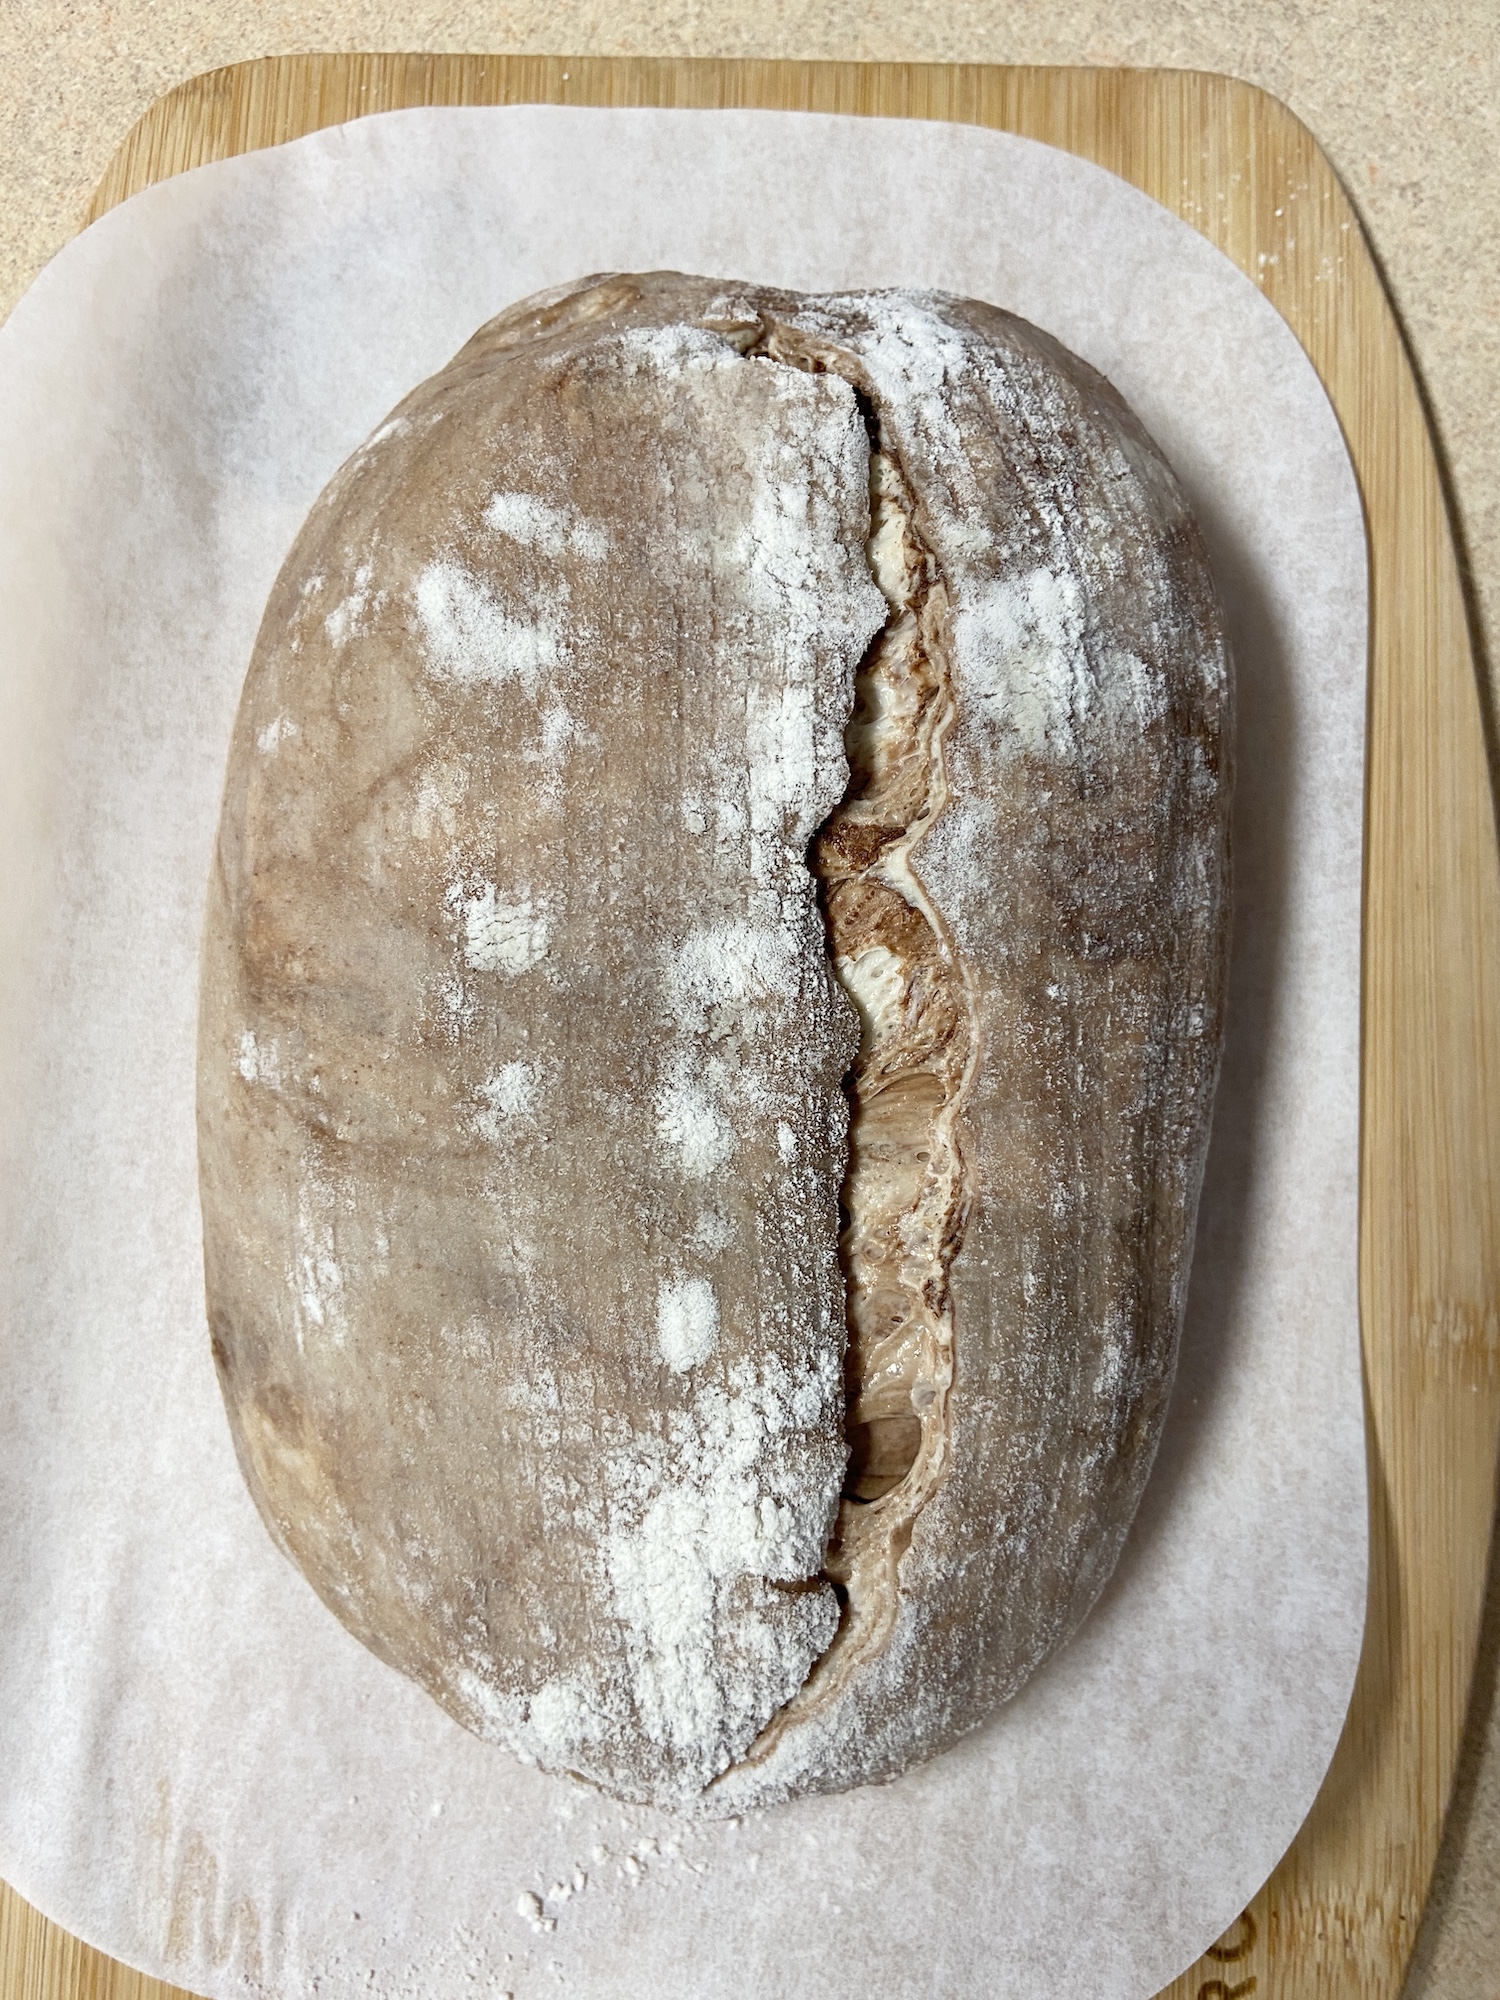
- Flip it over on a parchment paper, score it with a sharp knife or a scoring lame.
- Transfer it on to the hot cast iron pan, cover with the lid (to create steam for a beautiful and crunchy crust).
- Bake at 500F for 15 minutes with lid on.
- Remove the lid, lower temperature to 450F.
- Bake for 20 more minutes until golden brown.
Enjoy your hot cocoa sourdough bread!

Hot Cocoa Sourdough Bread
1361kcal
Ingredients
Sourdough Starter Levain (Night Before)
- 5 g Sourdough starter culture
- 35 g Water
- 30 g All-purpose flour or bread flour
- 5 g Rye flour
The Main Dough Base
- 270 g Bread flour (90%)
- 30 g Stone-ground whole wheat flour (10%)
- 207 g Water (69% – Used for the main autolyse mix)
- 60 g Active sourdough starter levain (20% – From the stage above)
- 6 g Salt (2%)
- 30 g Cold water (10% – Held back as bassinage adjustment water)
The Hot Cocoa Lamination Inclusion
- 15 g Cocoa powder
- 15 g Dry milk powder
- 15 g White sugar
- Extra water (Reserved inside a spray bottle to hydrate the cocoa mixture)
Equipment
- Stand Mixer (A KitchenAid or standard mixing machine handles the intensive initial flour and liquid integration)
- Water Spritzer / Spray Bottle (Crucial for misting the cocoa layer during lamination so it doesn’t dry out the dough)
- Proofing Basket (Banneton or a clean bowl cleanly lined with a dry kitchen towel)
- Cast Iron Pan with Lid (Or a heavy Dutch oven to capture pressurized steam for maximum oven spring)
- Sharp Scoring Lame (Or a fresh razor blade for clean expansion cuts)
Method
Night Before – Levain Optimization
- 10:00 PM – Starter Build: In a small glass jar, add your 5g of starter culture to 35g of water and whisk together cleanly. Stir in 30g of all-purpose or bread flour and 5g of rye flour. Mix thoroughly, cover loosely, and let it sit at room temperature 74–78°F (23–26°C) overnight for 8 to 10 hours until the starter reaches its peak and at least triples in volume.
Day 2 – The Autolyse, Bassinage, and Core Mixing
- 5:00 PM – The Core Autolyse: In your stand mixer bowl, combine the 270g of bread flour, 30g of whole wheat flour, and 207g of main water. Mix thoroughly with a spoon just until all dry flour patches entirely disappear. Cover tightly and let it rest on your counter for 1 full hour. During this autolyse, the flour proteins absorb the water completely, becoming fully hydrated to naturally kickstart strong gluten bonds.
- 6:00 PM – Sourdough Starter Integration: Add 60g of your active overnight starter peak directly into the autolysed dough. Turn your mixing machine on low speed for 2 to 3 minutes (or use a KitchenAid mixer on speed 3 for 3 to 4 minutes) until the starter is completely incorporated. Cover and let rest for 30 minutes.
- 6:30 PM – Bassinage & Salt Incorporation: Add your 6g of salt along with the remaining 30g of cold bassinage water into the bowl. This secondary hydration step helps tighten up the developing gluten network. Mix on low speed for 2 to 3 minutes (or on a KitchenAid on speed 3 for 5 to 6 minutes) until the extra liquid is fully absorbed. The dough will pull together cleanly but should remain sticky on the bottom of the bowl. Cover and let rest for 30 minutes at 74–78°F (23–26°C). The Hot Cocoa Blend Setup: While the dough rests, whisk together the 15g of cocoa powder, 15g of dry milk powder, and 15g of sugar in a small bowl until completely uniform.
Lamination Inclusions & Bulk Fermentation Folds
- 7:00 PM – The Hot Cocoa Lamination: Spray your clean work surface lightly with water and wet your hands. Gently tip the sticky dough out and stretch it out as thin as possible across the table without tearing the delicate matrix. Sprinkle your prepared cocoa powder, dry milk, and sugar mixture evenly over the entire surface of the sheet.
- The Spritzer Hydration: Take your water spritzer and spray a fine mist of water directly over the dry cocoa layer. (The Moisture Hack: Because cocoa powder and dry milk powder are highly absorbent, they will ruthlessly suck hydration away from the dough and ruin the texture if left dry; misting them ensures the dough matrix remains soft and supple). Fold the dough cleanly over onto itself into a neat package, return it to your bulk proofing container, and let rest for 45 minutes.
- 7:45 PM – 1st Stretch & Fold: Wet your hands slightly. Lift one side of the dough up cleanly from the container edge and fold it directly over the center. Repeat this action for all four quadrants of the dough mass to build structured vertical strength. Cover and let rest for 45 minutes.
- 8:30 PM – 2nd Stretch & Fold: Execute your second structured round of quadrant folds to continue organizing the expanding gluten network. Cover and let rest for 45 minutes.
- 9:15 PM – 3rd Stretch & Fold: Execute the third and final stretch-and-fold round. Cover and let the dough proof completely untouched for 30 minutes at a warm 76–80°F (24–27°C). The dough should look visibly lighter, show distinct dark marbling and surface bubbles, and hit a clean 50% volume rise.
Preshaping, Tension Rolling, and Cold Retard
- 9:45 PM – Preshaping: Gently tip the expanded dough out onto your work surface and dust the top lightly with flour. Flip the mass over so the floured side faces directly down. Fold the outer edges cleanly onto itself so that the raw flour coating remains entirely on the outside of the loaf. Round the dough into a loose ball and let it rest on your counter completely uncovered for 30 minutes to relax the gluten network.
- 10:15 PM – Final Shaping: Dust the top of the resting dough round with flour. Use a dough scraper to flip it over onto your counter so the floured side faces down. Starting at the edge closest to you, pull the two right corners of the dough outward and fold them up into the center. Repeat this exact matching movement across the left side. Roll the dough tightly away from you, shaping it into a perfectly smooth, taut, uniform log. Basket Stabilization & Fridge Retard: Transfer the shaped roll seam-side up into your well-floured proofing basket. Cover with plastic wrap and return the basket to a warm 80°F (27°C) spot for exactly 15 minutes to stabilize. Slide the basket directly into your refrigerator to rise slowly for 14 to 24 hours of cold fermentation retard.
Day 3 – Blazing Cast Iron Bake
- Next Morning – Preheating: Preheat your oven to 500°F (260°C). Place your cast iron pan and lid onto the middle rack to heat up thoroughly for 45 minutes to 1 hour.
- Scoring & Loading: Remove the cold marbled dough basket from the fridge. Flip it over gently onto a sheet of parchment paper and score the smooth surface with one clean, long, deep cut using a sharp lame or razor blade.
- The Steam Bake: Transfer the dough carefully onto the smoking hot cast iron pan base, drop the heavy lid down tightly to lock in the steam, and bake at 500°F (260°C) with the lid on for exactly 15 minutes.
- The Open Bake: Carefully lift the hot lid off to expose the loaf, lower the oven temperature to 450°F (232°C), and continue baking bare for an additional 20 minutes until the crust turns an incredibly deep golden brown. Let cool on a wire rack for 2 full hours before slicing into your marbled cocoa crumb!
Nutrition
Calories1361kcalCarbohydrates273gProtein52gFat8gSaturated Fat2gPolyunsaturated Fat3gMonounsaturated Fat1gCholesterol12mgSodium1107mgPotassium1014mgFiber17gSugar9gVitamin A343IUVitamin C1mgCalcium282mgIron7mg
Notes
- Understanding Cocoa Lamination vs. Core Dough Mixing: Rather than mixing your cocoa powder directly into the initial autolyse phase—which can coat flour proteins and heavily impede gluten formation—this specialized method waits until the 7:00 PM lamination step. Folding the cocoa mix inside a fully developed dough sheets the chocolate flavor into dense, isolated ribbons, ensuring your bread retains an excellent open structure and an explosive oven spring.
- Why the Bassinage Step Cannot Be Skipped: Holding back 30g of your total water formulation to introduce alongside the salt at 6:30 PM is crucial for high-hydration loaves. This technique allows your mixer to build a strong early gluten core before the dough becomes saturated with water. This extra strength is exactly what keeps the bread from tearing apart when you stretch it thin for the cocoa dusting.
- Storage and Toasting Suggestions: Because this loaf contains milk powder and sugar within the lamination layers, the interior crumb retains a wonderful moisture profile that keeps the bread fresh at room temperature for up to 4 days. It makes an unbelievable breakfast when sliced thick, toasted open-air until the sugar caramelized slightly, and slathered with fresh unsalted butter.
Tried this recipe?
Let us know how it was!Disclosure: As an Amazon Associate I earn from qualifying purchases.
Discover more from Natasha's Baking
Subscribe to get the latest posts sent to your email.
Another great recipe, Natalya…
Thank you 🙏
Hi Natasha, if I already have a sourdough starter, do I need to do the part of the recipe that says sourdough starter or can I be used my existing starter? Thank you.
You have to prepare starter for baking night before. Follow your regular proportions for feeding 🙏
Thank you 😊
🙏
I’m trying it now 🤪
🙏
It was so good!
😊
👂
🙏🙏🙏
Hi Natalia
Looks good will give it a go. Why did you mix the powder in via lamination instead of adding it in at the mixer stage e.g. with starter or with the salt?
Also have your tried adding it in liquid form and did it work? E.g. adding cool chocolate drink instead of water?
Thanks
what difference does it make to mix the cocoa with the laminate and not before with the dry ones?
It’s hard to mix the dough with addition of cacao.